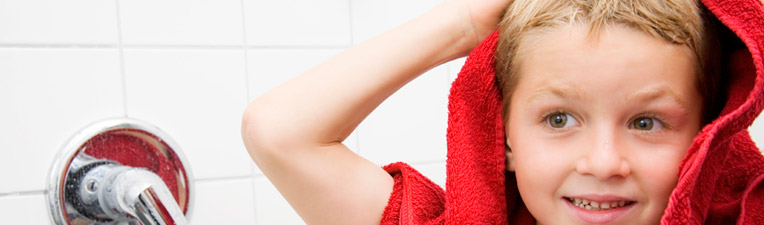
Upon taking a warm shower, it can be incredibly shocking to be covered in smelly water. When bacteria gets within a water heater, the resulting smell of the hot water can be impossible to ignore and require immediate attention.
Fortunately, there are several things that you can do to restore the water heater and remove the odorous bacteria from your household’s hot water. By using one of the below solutions, you can have the effectively return freshness to hot water and make sure that your water heater remains in good condition.
Smell Removal Solutions for Hot Water Heater
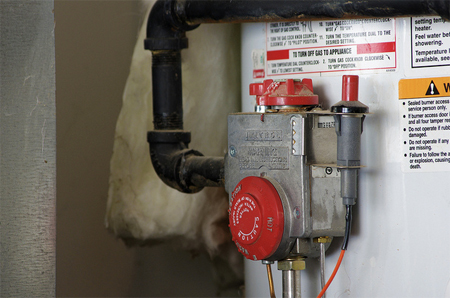
1 Replace Corroded Anode
 Initially, you will want to check the anode to see if it has been compromised or become corroded. If it has, you may be required to replace it to cut down on the production of bacteria. While selecting a new anode to replace the corroded one, it is better to buy a aluminum or zinc one that will lead to a lower production of bacterial creation within the water heater. If you can help it, avoid replacing your anode with a magnesium one as these often break down at a faster rate.
2 Bleach Shock Treatment
 This solution relies upon shocking the water heater tank with high levels of bleach or chlorine in order to completely kill off the bacteria residing within the tank. As a principle, you will need to pour one gallon of bleach or 1/2 gallon of chlorine for every 30 gallons of water within the heater. For complete instructions on sterilizing your water heater with bleach, click here.
3 Increase Temperature
 As a final solution, the temperature of the water heater can be raise to a level in which hot water will not be able to survive. To perform this task, the water heater must reach 160 degrees Fahrenheit or 71 degrees Celsius for 3-6 hours. Doing this on a regular basis should have the effect of keeping bacteria levels down and maintaining fresh smelling water.
As a precaution, raising the heat to this level can be dangerous with some water heaters. It is highly recommended that you first contact your water heater dealer to consult on whether your heater can sustain this temperature of heat or whether it is beyond the model’s limitations. If you receive positive confirmation from your dealer, be sure that they outline how to operate the pressure relief valve before trying this method.
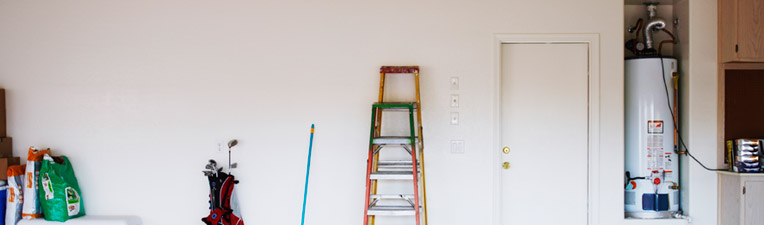
If all else fails, you might be in the market to buy an entirely new water heater. If this is the case, you can use the following guide to purchase and install a brand new water heater.
Photo Credit: Scott Akerman
[contact]
 This method may sound strange, but it has successfully been used for generations to remove the effects of paint odor. Begin by cutting a full onion into four parts and placing each piece within a bowl. Next, fill these bowls with a cup of water and place the bowls around the piece of furniture that smells of paint. Allow the bowls to sit for 2-3 days surrounding the object while it works to absorb all unwanted odors. Once this time has passed, perform a smell test to ensure that the smell has passed and then remove the bowls.
 This household acid works well at deodorizing a number of challenging odors within the home. Similarly, you will want to prepare four bowls and pour a half cup of white vinegar within each of them. Surround the piece of furniture that has been affected by paint odor making sure to place the bowl within key locations where they can best surround the item. Allow the bowls to sit for 2-3 days before return to do a sniff test of the furniture in question and remove the bowls.
 Once of the most effective ways to eliminate the paint odor is to move the piece of furniture outside within the sun. The ultra violet rays will go to work in neutralizing the stench of the paint odor, while the fresh air and open space will gently lift any residual chemical scent. You will need to place the piece of furniture within a location of the yard where it will be sure to receive a minimum of 8 hours of direct sunlight. If any odor remains after the first day, you can try putting the furniture outside within the sun for a second or third day until no paint scent remains within it.
 Similar to onions, oranges do very well at absorbing paint odors within furniture. Unpeel two oranges and take apart all of the wedges within each of them. Place the detached remains of each within two separate bowls and then place these bowls on either side of the piece of furniture. Allow the orange filled bowls to sit for 48 hours before returning to the piece of furniture to smell it and remove the bowls.
 If the furniture is a desk or chest of drawers, this solution can be very effective at removing difficult odors from enclosed spaces. Begin by filling a small saucer with vanilla extract and crumpling up several balls of newspaper. Take each ball and lightly dip the edged with the solution before proceeding to place these balls within the draws and enclosed spaces. After closing the drawers and spaces, allow the newspaper wads to sit for 24-48 before returning to remove them from the freshened space. The newspaper works to absorb the paint odor while the vanilla will have masked any remaining smell with its own subtle scent.
  If nothing has been worked, you can try applying another coat of clear sealing paint over the piece of furniture that is emitting the paint smell. This will help to lock any smell from the original paint within and prevent it from smelling up the room. Because this option can be rather time consuming, it is recommended that you only use this as a last resort.
 If you anticipate that a paint will smell, you can take one small but effective step to ensure that it does not smell. Simply measure one teaspoon of vanilla extract for each gallon of paint and thoroughly mix the ingredient in before use. The vanilla extract will work to neutralize the paint related odor and ensure that it does not contain an odor.
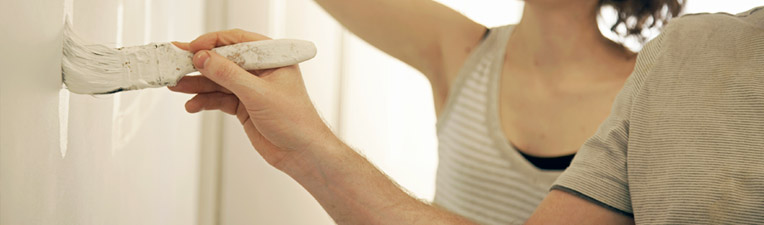
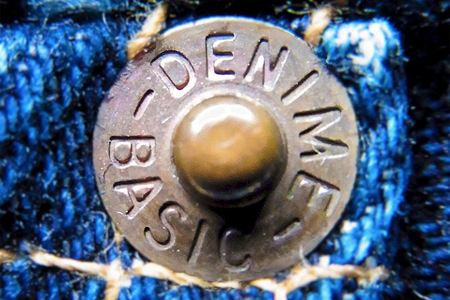
 Washing the denim a single time is often not enough to lift out difficult body odors and chemical stenches. If at first you were not successful in lifting these odors from a single washing machine cycle, you may be have better luck by putting it through a second detergent wash cycle.
 Baking soda is another additive that can add a beneficial deodorizing element within a normal detergent wash cycle. After placing the denim and detergent within the washing machine shut the door to alllow for the machine to begin. Once water has entered into the machine pour in a full cup of baking soda. Allowing for the water to fill the washing machine before adding the baking soda will help to ensure that it properly disburses and does not clump and attach to the clothing.
 If the above solutions have not been effective, an activated enzyme cleaning solution can work well at literally eating through the personal or chemical odor within the denim. Fill an appropriate sized bucket with water and enzyme cleaning solution in equal parts and and proceed to submerge you smelly denim items within the formula. provide 2-3 hours for the denim to soak in this solution before removing it to place through a normal detergent wash cycle.
 Similar to the enzyme solution, Oxiclean can have a powerful effect on the denim fiber prior to running the stinky fabric through a detergent wash. Mix a solution of Oxiclean within a large bucket, add the denim and provide 3-4 hours for the solution to have a deodorizing effect. Once complete, you will want to finalize the treatment of the denim by running t through a normal detergent wash.
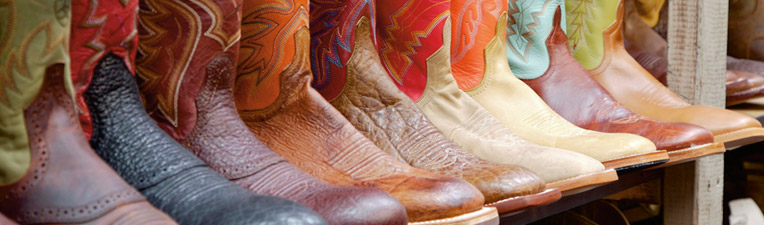
 In a similar methodology to baking soda, using cat litter for deodorizing the interior of the boots can work great for absorption. Measure a quarter cup of cat litter for each boot and pour within each boot nightly. In the morning the cat litter can be poured out of the boots and back into a cup for reuse on a nightly basis until the smell has been fully absorbed and eliminated.
 If you have the time, activated charcoal inserts can work in absorbing difficult odors from the cowboy boot interiors over the course of of weeks. To construct homemade inserts, find a old pair of nylons and cut the leggings into two. Fill each legging with 3-4 briquettes of activated charcoal and proceed to tie knots to enclose them within the socking. Place these nylon enclosed charcoal briquettes within the interior of the cowboy boots and apply them nightly until they have effectively freshened the boots.
 Use of leather-safe enzyme cleaner can work wonders on eliminating odors within the interior of cowboy boots. Spray this deodorizing solution within the interior and proceed to stuff wadded newspaper deep down within them. Allow the contents to sit for 24-48 hours as the newspaper draws in the stench and the enzyme cleaner eats through the odorous organic content within them. Upon completion, remove the newspaper wads and place them within the sun for the day to air dry.
 As a final solution, specialty leather soap can have a fantastic deodorizing effect on the cowboy boot’s surface and interiors. Apply it to the affected surfaces and provide the need time for the leather soap to naturally air dry. For best result, combine this cleaner with one of the other solutions outlined above.
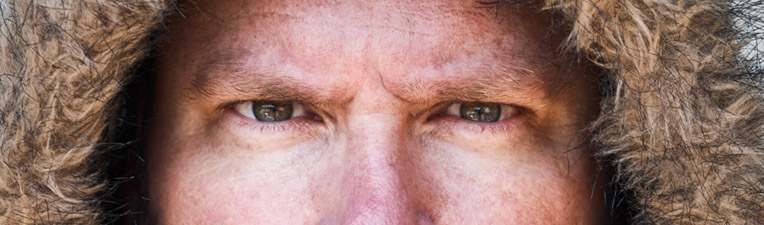
 Development of sweat and skin cells can often cause bacteria to develop within the interior of a fur hat. This is problematic because this bacteria can often develop the odor that causes much discomfort during the fur hat’s use. Fortunately, freezing the fur hat will have the effect of killing the bacteria that resides within the hat. Place the hat within a sealed trash bag and put within the freezer for 24-48 hours for best results. Upon completion, it is a good idea to remove the hat from the trash bag and freezer and place it within the sun for 8 hours for a final freshening effect.
 The citric acid within this solution can have the positive effect of cutting through difficult odors within a fur hat. Mix a solution of one part lemon juice with ten parts water within a generic spray bottle and proceed to mist down the fur hat. Upon spraying it down, proceed to place the fur hat outside within the shade until dry. It is important not to sun dry the hat after using lemon juice because the combination could lead to minor bleaching of the fur.
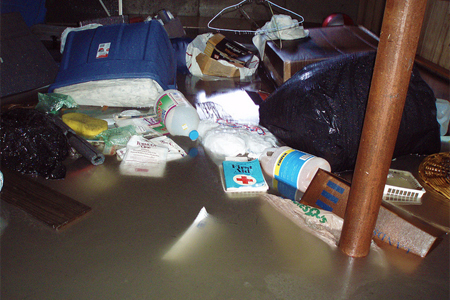
 As a preliminary step, you will need to fix any water pipe leaks or water passages into the basement and drain the water out. In most cities, professional services can be hired to perform the task of pumping out all of the water level found within the basement’s space.
 If you notice that the basement might need something a bit more substantial than area fan to properly dry out the space, you may want to consider buy a dehumidifier. This machines will work to pull all of the available moisture out of the space and make it very difficult for mildew to grow within the space.
 If a mildew odor remains after everything within the basement has been properly treated and dried out, you may want to consider renting an ozone machine. These machines are highly effective but also require precaution during their use. It is extremely important not to be with the space it is treating as it can be deadly within extreme cases.
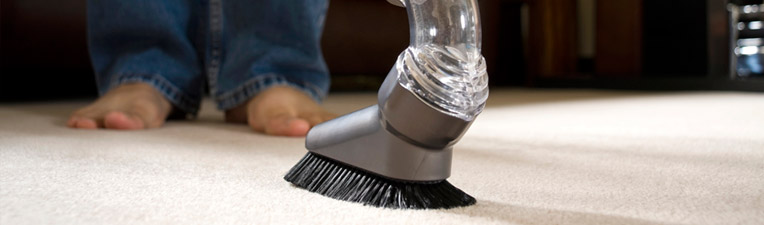
 Although there may already exist some level of mildew within the carpeting, it is important to treat it quickly before it becomes much worse. Mildew has a way of continually growing with time if given the proper environment to grow. This is why it is very important to quickly remove the moisture within the carpeting in order to eliminate the source that mildew relies upon.
 In order to dry the carpeting, you will first need to blot dry the carpeting with a clean dry towel. For best results, place your full body weight being the towel to draw out as much moisture as physically possible. Once no additional moisture is being pulled from the carpeting or underlying padding by towel, it will be time to setup an area fan that will be set to be aimed at the mildew area of the carpeting. Drying the carpeting before treatment is important because smells often can go away once it has become completely dry.
 If white vinegar has been ineffective at eliminating the mold odor, soaking the towels within a solution of enzymes can yield positive results. Fill a bucket with enzyme cleaning solution and water measured in equal parts. Next, submerge the affected towels within the solution and allow them to sit for 4-6 hours while the active enzymes literally eat their way through mold infestations. Upon completion, the towels can be removed and placed through a wash cycle with the addition of 1/2 cup of baking soda.
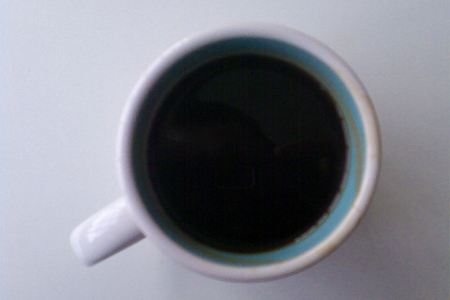
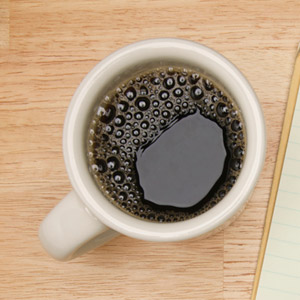
 Often, all that is needed is to submerge the mug within extreme hot water and simply mix in dish detergent. After the water has cooled to the point that it can be handled, proceed to give the interior of the mug a great internal scrub. Finish by allowing the mug to be resubmerged within the bath of dish detergent and warm water for 1-2 hours before rinsing off and putting back into use.
 The use of rubbing alcohol can work well in cutting through the stale coffee residues within the interior of the mug. Fill the mug with hot water for 5 minutes before wiping down the interior of the mug with a dish cloth that has been soaked within rubbing alcohol. Allow Perform this task for 1-2 minutes to ensure that the alcohol has a fighting chance against this built up odor. Upon completion, rinse out the rubbing alcohol and put the mug back within use.
 Many in older generations know this brand because they use this product to clean and deodrize dentures. Despite the different use, it can have a powerful effect on removing unwelcome coffee odors that may exist within the confines of a daily mug. Simply drop an efferdent tablet within a filled mug of water and provide several hours for it to provide deodorizing results.

 The first thing you will need to do is access the damage within the room and search out visible mold within the space. Upon your findings, decide whether the mildew odor is associated with a surface are problem or whether it is something deep within the foundation and surrounding walls. In such cases, you the mold’s structural damage may be outside your own grasp and might require the help of a trained professional.
 If any visible mold was found on the walls, it is important to follow behind the initial treatment with mold killing and sealing paint. Kilz is a popular brand of paint that can work well in covering up the problem to provide a fresh start within the worst areas. To be safe, make sure that all areas around the affected space are painted.
 Once the space have been treated, spend time looking for any wall or floor cracks, moisture leaks, or weeping walls within the space. These problems should be treated immediately if any issues are found. Next you items will be ready to be moved back within the space. Make sure that they have received several days of direct sunlight within the yard and have been appropriately treated with white vinegar. While bringing them back within the space, it is important that they are not placed directly against any of the walls to provide some breathing room.
 If you are finding that the mold continually returns, it may be time to seek out a