
After much use, a bong can develop a thoroughly unpleasant weed residue that can cause an entire room to stink. This build up can cause discomfort and paranoia for home owners and tenants and demand an immediate solution to keep things under wraps.

Fortunately, there exist several household solutions for lifting pot aroma out of bongs. By following the below tips and tricks, you can be sure that your home will be smelling fresh with a cleaned and deodorized bong.
Bong Smell Removal Solutions
1 Prepare the Bong’s Interior
 Unfold a wired coat hanger and bend it until it becomes completely straight. Once performed, fold the wire hanger within the middle so that the hanger can do a better job of holding up. Next, make a hook out of the wire’s end and wrap several paper towels around the hook. Dip the paper towels within a solution of rubbing alcohol and proceed to stick the paper towel cover hook down the mouth hole of the bong. You will need to push and pull the wire out so the paper towel can clean and santitize the interior of the bong’s neck. Once you have removed much of the visanle residues from the bongs neck you can proceed to one of the deodorizing solutions below.
2 More Rubbing Alcohol + Rice
 Using a combined solution of rubbing alcohol and rice you will be able to flush much of the soured weed odor out of a bong. Begin by mixing a solution of one part rubbing alcohol with three parts water. Next dismantle the bong and plug up the open holes within the base. Once everything has been made water tight, pour the rubbing alcohol solution within the bong. Ideally, you will want the mixture to fill up at least one third of the available volume within the bong. Next, pour in a half cup of rice and proceed to cover the top mouth hole to give the entire bong a healthy shake. The rice’s abrasiveness will help to grind away some of the residue build up while the rubbing alcohol work to deodorize the interior.
3 Vodka + Rice
 In a similar method as rubbing alcohol, vodka and rice can work equally well at removing odor within the bong. Mix a solution of vodka and water in equal parts and pour within a dismantled and plugged bong. Next, add in a half cup of dry rice, cover the top and give the bog a good shake for 3-5 minutes. Once completed, allow the contents to rest within the bottom of the bong for 3-4 hours. After this time period has passed, the contents within the bong can be pour out. Finalize by rinsing out any remaining rice or vodka from the bong’s interior.
4 White Vinegar + Rice
 This solution works well by leveraging the natural acid within white vinegar to neutralize smelly weed build up within the bong. Begin by mixing a solution of one part white vinegar with three parts warm part. Next, dismantle the bong and pug up all holes within the bottom of the bong. Proceed to pour in half a cup of dry rice and the mixture and give the entire bog a good shake for 3-5 minutes. Upon completion, place the bong aside for the mixture to go to work in eating away at the smell residues within the base. After you have allowed the bong to sit for 4-6 hours, pour out the contents and give the entire interior of the bong a good rinse with fresh water.
5 Enzyme Cleaner + Rice
 As a final solution, enzyme cleaner can be used with bongs that contain an especially bad odor. The active enzymes within the solution will work to literally eat through the organic residues within the bong. Begin by dismantling the bong and plugging the lower holes. Next, pour in a half cup of dry rice and add in enzyme cleaner until the cleaning solution fills one third of the bong. Give the bong a good shake for 3-5 minutes and finalize by setting the bong aside. Allow the enzyme cleaning solution to deodorize the base of the bong for 6-8 hours before pouring it out and thoroughly rinsing the interior of the bong.
Photo credit: Bob With
[contact]
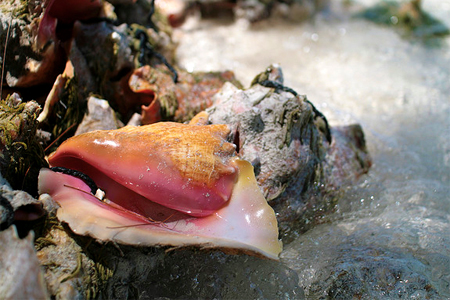
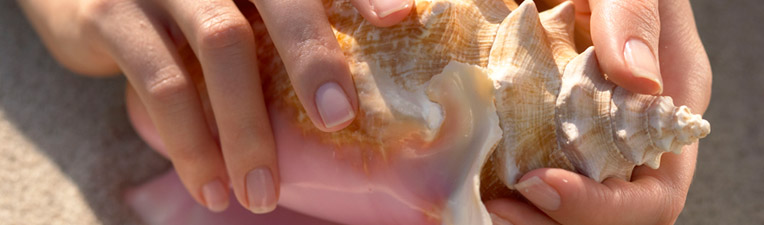
 This is an unconventional method, but many people swear by it’s effectiveness. Fin a location within the yard where many bugs or ant congregate. Out of all possible areas, ant hills are the most idea location. Place the conch shell down on the ground and leave it there for 3-4 weeks. During this time, ants and other scavenger bugs will go to work in cleaning meaty bits and residues out of the conch shell. Upon completion of this time period, bring the shell in the home and wash it.
 In a similar function to boiling, freezing will also kill the bacteria and loosen any organic bits within the shell. The cold temperature of the freezer has the effect of killing the bacteria due to it’s inability to survive in such cold temperatures. Place the smelly conch shell within a sealed trash bag and place this bag within the freezer. Allow for it to remain within the freezer for 2-3 days before retrieving it and removing the shell from the bag to air outside within the yard.
 Using this method requires several months to deodorize, but it remains an effective solution. Find a nice dirt spot within the yard and dig a 2 foot deep hole. Place the conch shell in the hole and fill the dirt in behind it. Additionally, it’s important place a small stake in the dirt to serve as a reminder of where the conch shell is buried. Allow the conch shell to rest in the dirt for 3-4 months before returning to dig it out. As a final precaution, be careful not to chip the shell with a shovel while digging it up.
 As a final solution, you can simply decide that you are going to wait the smell out. You can do this by placing the shell in the most remote corner of your property and provide 1-2 months for the organic bits to naturally dry out and decompose.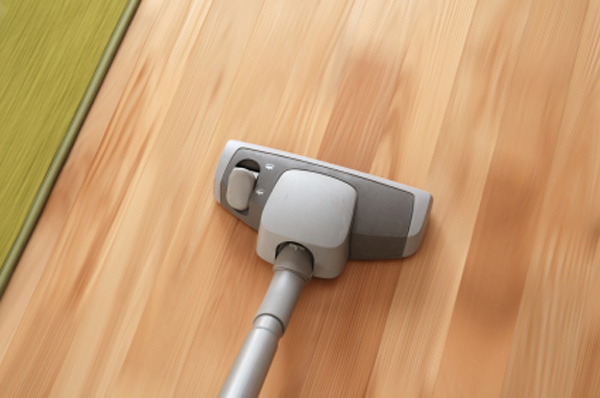

 Most odors come from the machine while it is within use. Given this you can utilize the vacuums functions to deodorize the inner workings of the machine. Sprinkle a small pile of baking soda on the ground and proceed to vacuum the powder up. Once all of the deodorizing powder have been brought within the machine, you can then shut it of and place it back within your household storage location within the home for 24-48 hours. After this time has passed the powder will have heavily reduced the potency of the internal odor within the machine.
 If baking soda has been ineffective lavender oil can have a powerful effect at covering up any odor within the vacuum cleaner. Dip 5-10 cotton balls within eucalyptus oil and place them on the ground. Next, suck the balls up and into the vacuum cleaners bag. This heavily scented compound will work to freshen the inner working of the machine over the subsequent days.
 Lavender oil can be used in place of eucalyptus oil to cover and treat any unwanted vacuum cleaner odors. Similarly, you will want to dip 5-10 cotton balls within lavender oil and place them on the ground to be sucked up within the machine. Once within the machine, they will work to deodorize the interior of the vacuum cleaner.
 Carpeting powder can have a similar effect within a vacuum cleaner as it is meant to have on carpeting. Sprinkle a 1/2 cup of this deodorizing powder on the floor and proceed to vacuum it up within the bag. Allow for the powder to sit for 24-48 hours for the finalizing effect to take place on the machine.
 This solution can have a powerful effect on the output of fumes sent out from the machine. This solution is rather simple, and only require sucking up 4-5 unused dryer sheets within the machine. Once completed, the scented sheets will ensure that most odors will be masked within the machine air pushed output.
 As a final solution, the vacuum cleaner bag can be emptied or even thrown out with particularly difficult odors. Vacuum bags are not particularly expensive and can be a sound solution for saving time while fixing odor.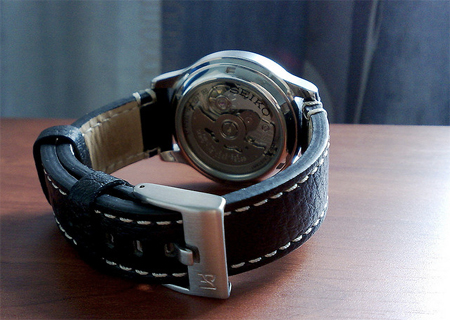

 Placing the leather watch band within direct sunlight can do much to remove the embedded stink. The ultra violet rays, open space and fresh air will slowly work to neutralize the smell and render the leather fiber odorless. It is important to find the correct balance when performing this task. Too much sun will ensure can potential bleach the leather color and too little will not have a strong enough effect.
 Using activated charcoal is a noninvasive and effective solution if you have the time. Find a very small box to place several charcoal briquettes. Next include the watch band within the pile and seal the box. Allow the box to sit for 5-7 days to slowly work it’s magic in absorbing all of the unwanted aromas before opening it to remove the freshened wrist bands.
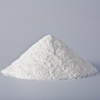 Baking soda has been used for generations in extracting unwelcome odors from household items. Within a small bowl create a baking soda paste of one part baking soda to three parts water. Once mixed, submerge the leather watch bands within this formula and allow it to sit for 24 hours. During this time, the leather fiber will be loosened up and the baking soda will work to absorb the available odor. After this time period has passed, remove the watch bands and place them under the facet to wash away any baking soda paste that may remain on it. Finally, complete this solution by laying the watch band within the sun to air dry.
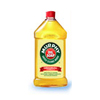 As far as product solutions go, Murphy’s Oil Soap can work wonders in eliminating harsh leather odors while remaining sensitive and gentile to the wrist bands appearance. Apply generous amounts of this solution to the watch band and allow it to sit for 2-3 hours. After this time rub away any excess and set aside for the fiber to naturally dry out.
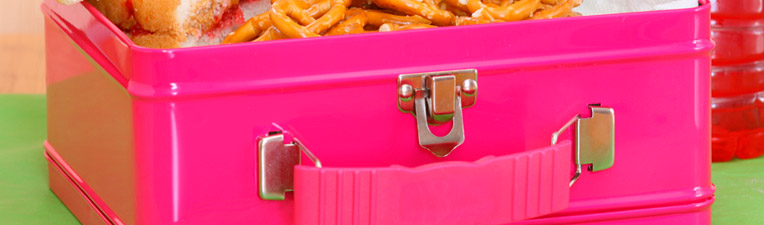
 In most cases, the foul smell of residues within a lunch box are the result of food being left within the lunch box and subsequently spoiling. Although removing all rotten from the box may come be common sense, we thought that we would mention it none the less. After removing the rotten food bit, you will be able to evaluate the need to further treat the box with of of the below deodorizing solutions.
 Although this may be something that you have already tried, it remains effective in eliminating most lunch box odors. Mix a solution of dish detergent with hot water and scrub down the interior of the lunch box. Once completed, proceed to wash down the interior with fresh water to lift out any soap residues. Finalize by placing the lunch box outside within the sun until all moisture has naturally evaporated away.
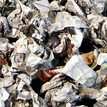 If other methodologies have been ineffective, newspaper dipper within vanilla can do wonders in absorbing and covering rotten food odors. Wad up several sheets of newspaper until you are certain that the quantity will be sufficient to fill the space within the box. Next, dip the edges of the newspaper balls within a solution of one part vanilla extract and three parts water. Stuff the dipped balls within the lunch box, seal the lid and allow the box to sit for 24-48 hours. Once completed, open the lid and remove the newspaper balls from the case.
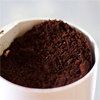 Many people do not know that coffee grounds can be an effective odor absorbent. Fill the bottom of your lunch box with a half cup of coffee ground and close the lid. After 24-48 hours have passed, the grounds will have worked to absorb the unwelcome odor and left a subtle aroma of coffee beans behind.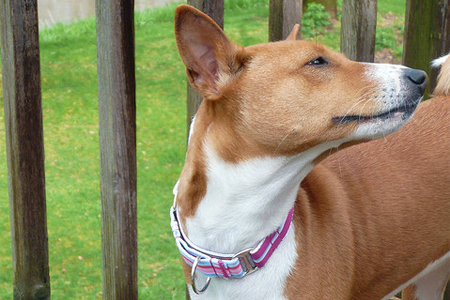

 Rotating collars is always a good practice. Doing this will ensure that your dog is always wearing a collar while another one is being cleaned and deodorized. This will keep your dog identifiable and make sure they never get lost. As well, this will also ensure that the odor will never build into a stink that will be impossible to remove. As soon as the fiber begins to smell, you will know that it is time to swap the collar and deodorize it.
 For subtle dog scents within the collar, simply placing it through a washing machine cycle is enough to deodorize it and have it smelling fresh again. This solution can be combined with a normal household clothing wash to ensure that the collar does not bang around within the washer and dryer by itself.
 Although it may seem unconventional, many swear by the dishwasher’s effectiveness at eliminating difficult odors found within dog collars. The dog collar can be placed within a normal dish filled cycle that is set on the hottest setting. Upon completion the piping hot soapy rinse will have an impressive freshening effect. As a final step, the collar can be placed within the sun to dry out.
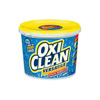 Soaking the dog collar within a bowl of enzyme cleaner or Oxiclean can do much to eliminate the most difficult odors from a dog collar. Allow the dog collar to soak in either of the solutions for 4-6 hours before removing it and placing it through washing machine cycle with your clothing. Upon completion, your dog’s collar will be smelling much fresher than it did before.

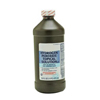 This solution works well at eliminating high bacterial levels within the horn that may be causing the odor. Mix a solution of hydrogen peroxide and water in equal parts and pour within the shofar. Once completed, allow for the shofar to sit for 24 hours before pouring the contents out and allowing it to air dry.
 This is an unconventional solution that can eliminate odors. Pour clean unused cat litter within the horn and allow it to sit for 5-7 days after being filled. During this time the fresh cat litter will help in absorbing much of the odor and drying out any of the smelly organics living within the shofar.
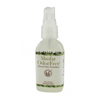 Many may be surprised that such a product exists, but specialized shofar deodorizing solutions can be purchase to fix your horn smell issues. The product spray is sold on Ajudaica.com and is called “Shofar Odor Neutralizing Spray”.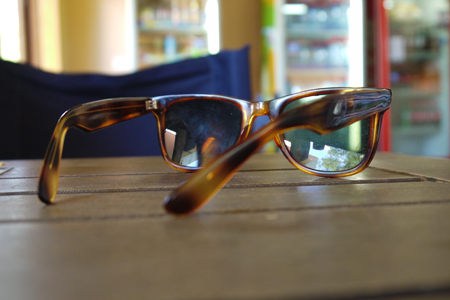

 This solution works in the same way that it is used to kill bacteria within your palms. There are often odorous bacteria thriving within the surface residues of the sunglasses that cause the unwanted odor. By cutting through the bacteria, you will be able to eliminate the embedded odors within the eyewear. Take precautions in applying this solution to the sunglass lenses. Although this solution should cause no negative effects, it would be smart to first test it within a corner of the lens before applying to the entire viewable area.
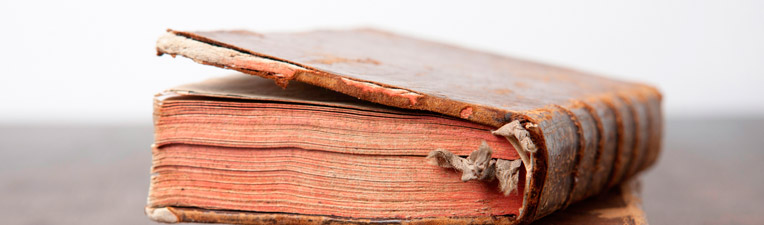
 It may sound strange to microwave your musty smelling book, but this can have the effect of killing the mildew spores that are causing the foul odor. The high heat within the microwave create an environment which is unlivable for the odorous mold spore. To put this solution into effect, start by microwaving your book for 15 seconds, and move on to 20, or 30 seconds if no positive effects are experience. As a note of precaution, make sure that your books do not contain any metal before placing it within the microwave as this may led to disastrous results.
 This natural oil also contains anti-fungal properties that will be sure to combat the smells within a musty book. Mix a solution of one part tea tree oil with ten parts water within a spray bottle. Proceed to spray within the pages with a light mist while flipping the pages. During this process, make sure that you spray a maximum of 2-3 skirts to avoid water damage. Once the tea tree oil dry the scent of the oil and the existing musty odor will cease to exist.
 Musty books are best avoided by keeping books within a space where mildew is not likely to develop. Ideally, store your books within and cool, dry location with a moderate light source to avoid developing an unpleasant smell. The worst place that books can be stored are within a warm, wet and dark location similar to a basement.
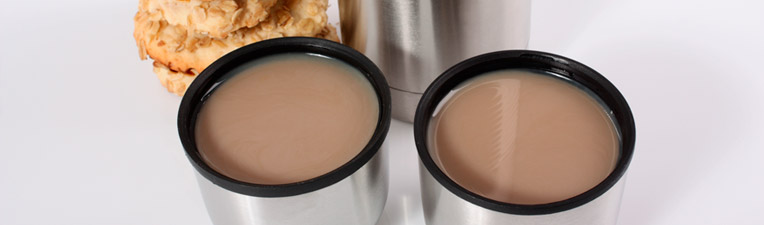
 As a guiding principle, you will need to deodorize your thermos at the same temperature in which the odor was created. If your thermos carries the stench of build-up coffee, you will need to treat the inside with water at the same temperature as your coffee is created. When the inside of the thermos is heated the interior walls expand and alway for deodorizing solutions to get at the previously embedded odorous residues. In short, you will always want to deodorize your thermos with heated water.
 After much use, beverage build-up within the thermos can develop and create an unpleasant odor. This is something that you will want to keep in check by continually scrubbing the interior walls to remove. If the build-up is particularly resistant, you may want to consider soaking the thermos in hot water and scrubbing it with the rough side of a sponge.
 Similar to white vinegar, apple cider vinegar works by applying it’s natural acid to eliminate unwanted odors within the thermos. Though both forms of vinegar yield a similar result, apple cider vinegar is significantly more expensive than white vinegar. To apply this solution, fill the thermos up with one part apple cider vinegar and ten parts hot water. Proceed to seal the lid of the thermos and provide a long waiting time of 5-6 hours for the apple cider vinegar to produce it’s results. Once this time has passed, pour the contents out and rinse the thermos out.