
When tents are smelly, it can make for an uncomfortable camping experience. These shelters are meant to provide comfort and protection from the elements. However, when they possess odorous fumes, you may choose to sleep under the stars.
Fortunately, there remain several things that can be done to remove odors from tents, and prevent them from developing within the future. By following the the below suggestions, you can be assure that you tent will be smelling fresh and offer a pleasurable camping experience.

Smell Removal Solutions
1 Open & Air Out in Sun (Minor Mildew Odor)
 The musty smell within a tent usually results from packing the tent within the bag while it is still moist from morning dew or rain. This results in mildew when the moisture is trapped and is unable to evaporate from within the confines of the tent’s bag. Once you get home, some of the musty odor can be eliminated by unpacking the tent, setting it up, and placing it within direct sunlight. In most cases involving minor mildew odors, an entire day within the sun will be enough to freshen the tent.
2 Hot Sponge Wipe (Mild Mildew Odor)
 Take precaution in using harsh chemicals that can strip the waterproof sealant from the tent canvas. Often, using hot water in combination with open air and direct sunlight will be sufficient to remove the odor. Draw a bucket of warm water and apply a damp sponge to the interior and exterior surface of the tent. Provide sufficient time for the entire interior and exterior of the tent to dry before repacking the tent within it’s bag.
3 White Vinegar (Strong Mildew Odor)
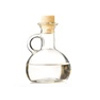 This household compound is effective at cutting through mildew and rendering a tent odorless. Additionally, unlike harsher compounds like bleach and soap detergent, it will inflict a lesser impact on the waterproof sealant within the tent’s canvas. Mix a formula of one part white vinegar with six waters warm water and sponge down the interior and exterior of the pitched tent canvas. Leave tent setup until all moisture has evaporated before packing away within the tent’s bag.
4 Enzyme Cleaner (Strong Mildew Odor)
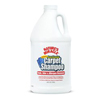 Similar to white vinegar, enzyme cleaning solution works well at killing mold spores without harming the waterproof sealant within the tent’s canvas. Pitch the tent, and mix a formula of enzyme cleaning solution and warm water in equal parts. Using a sponge wipe down the interior and exterior of the tent and leave tent setup until all of the moisture has air dried from the canvas.
Smell Prevention & Precautions
1 Dry Before Storing
 Once you return from your trip, remove your tent from it’s bag and setup within direct sunlight on a clear day. As an added step you can use warm water to scrub down the inside and outside of the tent as outline above. Allow moisture to air dry from canvas before repacking tent and storing within a cold and dry location.
2 No Detergents
 The use of detergent soaps and bleach will have the effect of leaving residues within the fabric that will not go away. It has the additional effect of the weakening the waterproof sealant within the canvas, and can lead to the tent’s inability to provide shelter from rain.
[contact]
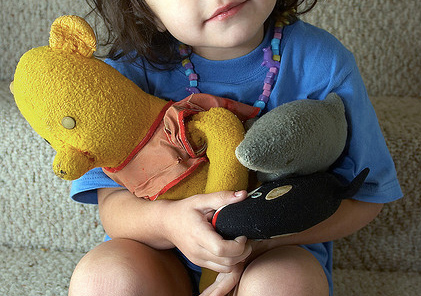
 Color-safe bleach provides protection for the stuffed animal’s colors while working to ensure the eradication of any existing mold spore. Place the stuffed animal within a pillow case, tie the end, and place within the washing machine. Measure a normal cup of color safe bleach and add within the washer before running an entire cycle. After the completion of the wash, place within the dryer and run on gentle.
 This powder works wonders at absorbing odors and freshening musty stuffed animals. Measure a full cup of baking soda and pour within a sealed trash bag along with stuffed animal. Give the bag a heavy shake and place aside for 24-48 hours. After 1-2 days have passed, return to remove the stuffed animal and shake off the baking soda.
 This is a quick solution to freshening any small-medium sized stuffed animal. Place 2-4 fabric softening sheets within the dryer along with a musty smelling stuffed animal. Close the door and run the dryer on a delicate setting for 15-30 minutes before removing the stuffed animal for a smell test. If the smell persists, place the stuffed animal back within the dryer and run for another 15-30 minutes.
 If the odor within the stuff animal is mild, using Febreze can be an effective solution. Heavily spray down the stuffed animal and provide 3-4 hours for the moisture to air dry. Once dry, return the freshened stuffed animal back within your child’s hands.
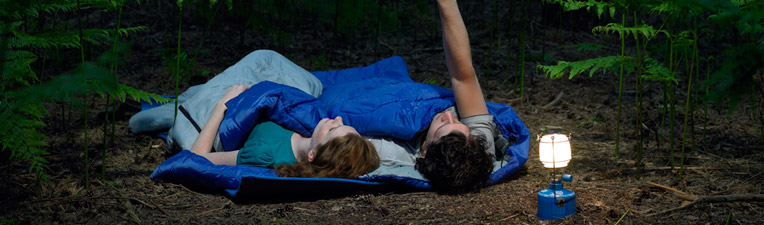
 For an additional boost, you can lay the sleeping bag across the lawn. The chlorophyl within the grass will work to neutralize the odor in combination the the sun’s UV rays. Place the sleeping bag in direct sunlight for a minimum of 8 hours. Within the middle of the day, it’s advisable to flip the sleeping bag so the the underside can receive some UV rays.
 This solution is a great formula for odor absorption. Flip bag so that the odor affecting the bag is located on the inside of the sack. Measure a 1-2 cups of baking soda and pour within the sleeping bag. Close the sack and shake the bag to allow for the powder to cover the entire interior of the sack. Roll bag up and allow for it to sit for 48-72 hours before returning to open the bag and sake the powder free of the bag.
 This party drink works wonders doubling as a deodorizer. The alcohol within vodka neutralizes a wide range of smells and dries away odorless. Pour vodka within a spray bottle and mist down the entire affected area of the bag. Hang the bag outside for 1-2 hours to allow for the alcohol to quickly evaporate off.
 If you have the time, this solution be highly effective at absorbing an unwanted odor within your sleeping bag. Place several activated charcoal briquettes within used nylon leggings and put them within the sleeping bag. Roll sleeping bag up and put aside for 5-7 days. After a week has passed, simply remove the nylon enclosed charcoal briquettes and enjoy the freshened sleeping bag.
 If you are tight on time and don’t mind paying for to have the bag treated, you can take your sleeping bag to the dry cleaners to have the odor removed. You can rest assured that the funk will be removed and that the bag will be returned to normal.
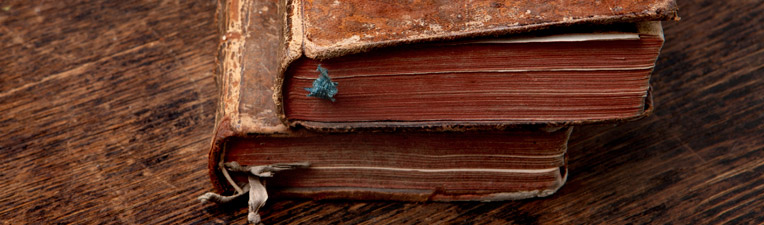
 Cat litter has more than one use, and can work wonders as an odor absorbant for musty booksPlace cat liter within a large ziplock bag and add a full cup of cat litter before sealing it. Provide a minimum of 48-72 hours before returning to remove the freshened book from the the bag
 This may sound like a strange solution for removing musty odors from an old book, but it remains highly effective. The microwaves cut through the microorganisms producing the odor and work to kill them off. Place the book within the microwave at 20 second intervals taking breaks to smell to book to ensure that the odor has been zapped away. As a note of caution, be sure that the books do not contain any form of metal as this can lead to destruction and fire hazard within the microwave.
 Bleach is a strong compound for disinfecting surfaces and removing odors. Mix a small solution of one part bleach and three parts water and moisten a paper towel within the mixture. Lightly apply the formula to the surface, binding and corners of the book. Allow 20-30 minutes for book to air dry before putting into use. Avoid this technique if the book is of value, as it could lead to minor lightening or deterioration of cover.
 Similar to the microwave, the freezer deprives the microorganisms of a hospitable environment to live. The cold temperature of the freezer slowly kills the mold spore and eventually leave the book smelling fresh. Place the old book within a ziplock bag and place within the freezer for an entire week. After 5-7 days, return to remove the freshened book and put into use.
 Both of these oils work well at masking the musty smell of old books. Damped a cloth and apply a teaspoon of either of these formulas. Using the cloth, wipe down the cover, corners, and along the ends of the pages. Allow 30 minutes to dry before putting into use.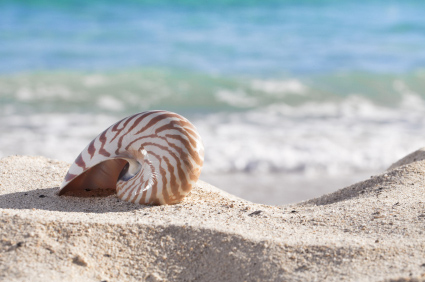

 Place the shells within pot of boiling water and allow for them to sit within water for 30-40 minutes. During this time the interior organics will cook and loosen within the shells interior. After time has passed you can shake shell to eject the organism within.
 Freezing the shell allow the organics this the shell to disconnect, and become easier to remove. Place shell within a ziplock bag and place within the freezer. Approximately 24 hours later, return to remove the frozen sea shell from the freezer and place within kitchen sink to thaw out. After 3 hours, return to shake shell to remove the organism within.
 As a household solution, hydrogen peroxide is a great substitute for bleach in sterilizing sea shells and removing odors. Fill bowl with hydrogen peroxide and water in equal parts and place sea shell within solution. Allow the shells to sit for 24-48 hours before removing and drying off.
 If you have time, and a great memory you can bury the shells within the backyard. Bury them at least a foot below the soil and provide 2-3 months for the organism within the shell to naturally decompose. So you don’t forget the location, be sure to place a marker above the soil so you can easily return and remove the freshened seashell.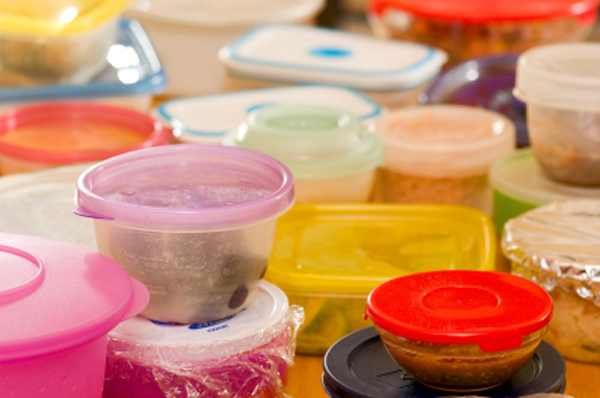

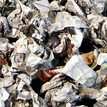 Newspaper works well at absorbing odors within enclosed spaces. Crumple up newspaper and stuff within the interior of the tupperware and close the lid. Allow the tupperware to sit for 24-48 hours as the newspaper slowly extracts the unwanted aroma from the plastic siding. After this time has passed, throw newspaper away and enjoy freshened tupperware.
 Fill the tupperware half way up with water, and add 3 teaspoons of vanilla to the mix. After closing the lid, give the tupperware container a good shake allowing the substance to cover the side of the tupperware. Allow the tupperware to site for 5-8 hours before returning to pour the substance out and rinse the interior. Much of the smelly odor will be wiped away and replaced by a freshened vanilla smell.

 Soak starfish within a mixture of baking soda and water for 48 hours. Once Starfish has fully absorbed mixture, much of the odor will be neutralized and it will be ready for drying.
 Place in a solution of bleach and water for 24 hours. After a full day of soaking, much of the odor will be removed, leaving the starfish ready to dry.

 It is easy to forget to weigh down the corners during the drying process. However, when this is not performed it can have nasty consequences when the starfish legs begin curling up. Use small weights at the end of the arms to ensure that this does not happen.
 A sure-fire alternative to weights is by pinning the starfish on a piece of cardboard. Place the starfish on top of the cardboard, and strategically place pins through the arms and into the below cardboard. This will ensure that no arm curling occurs so that the starfish maintains it’s original structure.
 Many people seem to underestimate the foul stink of starfish during their drying process. For this reason it is very important to place them within high, hard-to-reach corners of the exterior of your house. Placing them atop the garage roof is a common spot as this location provides a dry, sunny, remote place for them to make their final transformation.
 Our canine companions seem to love these sea dwelling echinoderms. The more that they smell, the greater the allure that they possess. While drying, take extra precaution to place the starfish in a location out of your dog’s reach. If your dog does get hold of it, it will smell twice as bad when he throws it back up.
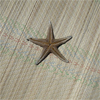 The smaller the starfish, the less time it will take to remove odor. By only selecting small starfish, you will minimize the need for a long-lasting odor removal process.

 In unraveling much of your yawn ball across your lawn in the sun, you will be able to remove much of the nasty odor that has developed within the organic fiber. The chlorophyll from the lawn and the UV rays of the sun both go to work in neutralizing mothball and mildew odors. After a 1-2 days lying within the sun, whined the odor-free yarn ball back up.