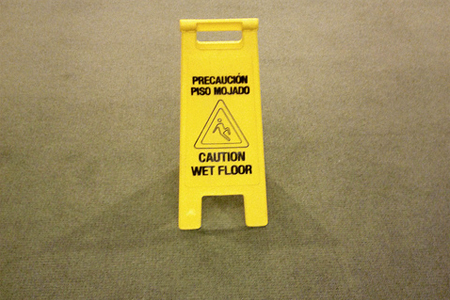
Mildew odors within carpeting are often the direct result of water unknowingly leaking within the room. After only 24-48 hours of first settling within the carpeting, the stench of mildew can develop and take hold of the fiber and underlying fiber.
A range of household solutions exist for killing the mildew infestation and lifting the musty odor from the flooring. By using the following solutions, you can take control of your mildew problem and return freshness within the affected room.
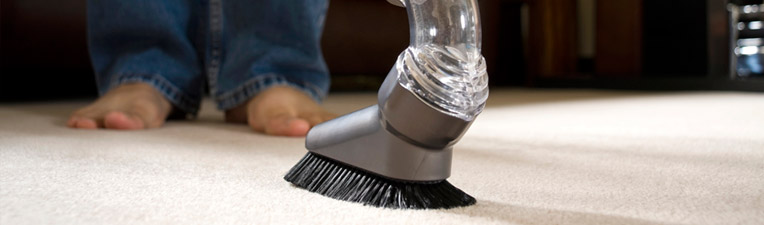
Mildew Smell Removal Solutions For Carpeting
1 Dry & Treat Carpet Quickly
 Although there may already exist some level of mildew within the carpeting, it is important to treat it quickly before it becomes much worse. Mildew has a way of continually growing with time if given the proper environment to grow. This is why it is very important to quickly remove the moisture within the carpeting in order to eliminate the source that mildew relies upon.
2 Blot & Fan Dry
 In order to dry the carpeting, you will first need to blot dry the carpeting with a clean dry towel. For best results, place your full body weight being the towel to draw out as much moisture as physically possible. Once no additional moisture is being pulled from the carpeting or underlying padding by towel, it will be time to setup an area fan that will be set to be aimed at the mildew area of the carpeting. Drying the carpeting before treatment is important because smells often can go away once it has become completely dry.
3 Sprinkle Baking Soda
 If drying the location has been nearly successful in eliminating the mildew odor, you can often use baking soda to get absorb any remaining odors within the carpeting fiber. Sprinkle heavy quantities of baking soda over the mildew affected area of the carpeting and provide 2-3 days for this deodorizing powder to work its magic. After this time period, return to do a smell test. If no odor remains, a vacuum cleaner can be used to suck up any and all remaining baking soda from the fiber.
4 White Vinegar
 As far as household kitchen ingredients go, white vinegar can provide the best hope of killing difficult odors within carpeting and underlying padding. Mix a solution of one part white vinegar to two parts warm water and pour it over the affected location. Once you have made sure that the affected areas of the carpeting are thoroughly soaked with this solution, you can leave it be for the 24-48 hours. Once completed, blot dry any remaining deodorizing mixture from the carpeting and underlying padding and run an area fan pointed at it for 24 hours.
5 Enzyme Cleaner
 If white vinegar has not been effective in removing the mildew stink, enzyme cleaning solution can have an even more powerful effect. Pour enough of this product solution onto the carpeting until it has sufficiently soaked the the fiber and underlying padding. Allow the product to sit for 24-48 hours while the active enzymes within the solution literally go to work in eating it’s way though the mildew. After this time period have passed, return to blot dry any remaining enzyme moisture and proceed to run an area fan at the location until it has dried.
6 Run Dehumidifier
 In rare cases where blot drying and running a fan next to the moistened carpeting is not successful at drying the carpeting and underlying fiber, a dehumidifier can be used to pull any remaining moisture from the location. This will also help to ensure that all mildew within this dies out for lack of viable carpet moisture to propagate from.
Photo Credit: Tommi Virtanen
[contact]
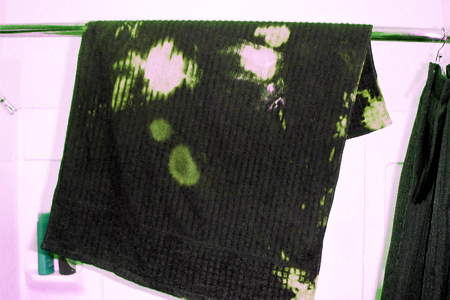
 If white vinegar has been ineffective at eliminating the mold odor, soaking the towels within a solution of enzymes can yield positive results. Fill a bucket with enzyme cleaning solution and water measured in equal parts. Next, submerge the affected towels within the solution and allow them to sit for 4-6 hours while the active enzymes literally eat their way through mold infestations. Upon completion, the towels can be removed and placed through a wash cycle with the addition of 1/2 cup of baking soda.
 If all of towels that have been affected are white, bleach can be considered to remove the unwanted aroma. Mix a solution of one part bleach to eight parts water within a large bucket. Once mixed, dunk the mold affected towels within the mixture and allow them to be fully saturated within the solution. Leave the towels within the mixture for a minimum of 2-3 hours before removing them to place the towels through a detergent wash.
 This product solution can have a powerful effect in killing the mold and freshening the towels. Again, you will want to mix a solution of Oxiclean within a large bucket and submerge the mold affected towels within the solution. Once completed, place them within a detergent wash that contains the extra addition of a full cup of white vinegar within the cycle.
 Although it may seem that these solutions have been completed restored the affected towels, it is always a good idea to hang items recovering from mold or mildew odor outside within direct sunlight. These open space, fresh air and ultra violet rays of the sun will go to work in eliminating any remaining mold spore to freshen the towel.
 Using hot water to remove coffee odor from the interior of a coffee mug is a must to properly deodorize it. Filling the mug with hot water will work to expand the creases and grooves where much of the coffee related residues are resting. Opening these microscopic spaces will allow easier access for deodorizing solutions to get at these areas and freshen the mug.
 Often, all that is needed is to submerge the mug within extreme hot water and simply mix in dish detergent. After the water has cooled to the point that it can be handled, proceed to give the interior of the mug a great internal scrub. Finish by allowing the mug to be resubmerged within the bath of dish detergent and warm water for 1-2 hours before rinsing off and putting back into use.
 The use of rubbing alcohol can work well in cutting through the stale coffee residues within the interior of the mug. Fill the mug with hot water for 5 minutes before wiping down the interior of the mug with a dish cloth that has been soaked within rubbing alcohol. Allow Perform this task for 1-2 minutes to ensure that the alcohol has a fighting chance against this built up odor. Upon completion, rinse out the rubbing alcohol and put the mug back within use.
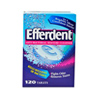 Many in older generations know this brand because they use this product to clean and deodrize dentures. Despite the different use, it can have a powerful effect on removing unwelcome coffee odors that may exist within the confines of a daily mug. Simply drop an efferdent tablet within a filled mug of water and provide several hours for it to provide deodorizing results.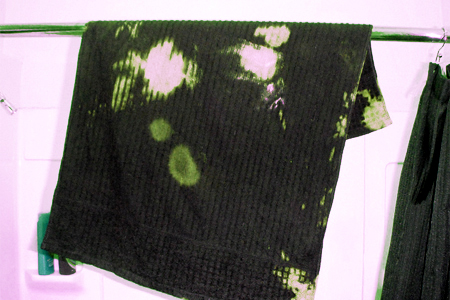

 The first thing you will need to do is access the damage within the room and search out visible mold within the space. Upon your findings, decide whether the mildew odor is associated with a surface are problem or whether it is something deep within the foundation and surrounding walls. In such cases, you the mold’s structural damage may be outside your own grasp and might require the help of a trained professional.
 If any visible mold was found on the walls, it is important to follow behind the initial treatment with mold killing and sealing paint. Kilz is a popular brand of paint that can work well in covering up the problem to provide a fresh start within the worst areas. To be safe, make sure that all areas around the affected space are painted.
 Once the space have been treated, spend time looking for any wall or floor cracks, moisture leaks, or weeping walls within the space. These problems should be treated immediately if any issues are found. Next you items will be ready to be moved back within the space. Make sure that they have received several days of direct sunlight within the yard and have been appropriately treated with white vinegar. While bringing them back within the space, it is important that they are not placed directly against any of the walls to provide some breathing room.
 If you are finding that the mold continually returns, it may be time to seek out a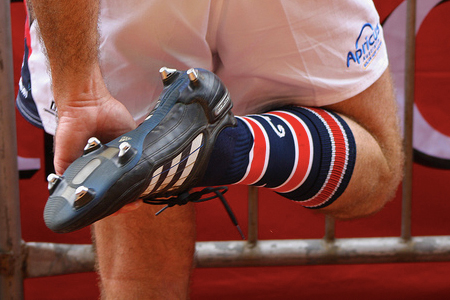
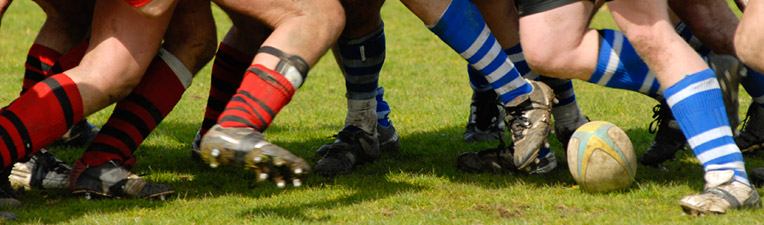
 Oftentimes, all that is needed to properly deodorize shoes is to place them outdoors within the sun. Find a place within the yard where they will receive a minimum of eight hours of direct sunlight and leave them outside for the day. Often the cleats will require two to three days to properly allow to air out. As a solution, this best used when you have a few days between use of the rugby cleats.
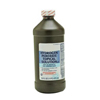 Much of the odor within shoes comes directly from bacteria that builds within the cleats. Living off dead skin cells, sweat and the dark moist environment it often finds used cleats to make a good home. Fortunately, hydrogen peroxide works to kill bacteria on the spot. Soak two hand rags within hydrogen peroxide and stuff one inside each of the cleats. After letting the hydrogen peroxide soaked rag sit for 4 to 8 hours, the rag can be remove and the cleats can be placed aside to air dry.
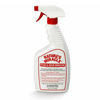 A enzyme based spray combined with wadded newspaper can work fast in removing sweaty foot stench for the cleats interior. Begin by spraying down the interior of the rugby cleats to allow the active enzyme to begin to eat through all of the bacteria that is causing the odor. Once performed, stuff the entire interior with wads of newspaper until it has been completely filled and allow it to sit over night. By the morning, much of the odor will have been absorbed within the newspaper to leave the cleats smelling fresh.
 Putting these two elemental states together will work to kill the foot related bacterial odor and freshen the cleats. Start by placing the cleats within a sealed ziplock bag and putting them within the freezer for 24-48 hours. This cold temperature will have the effect of killing the bacteria to give the shoes fresh start. Next, place the rugby cleats within direct sunlight for 8 hours to have the effect of drying out the odorous residues and letting the open space and fresh air carry it away.

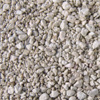 As a product meant for a cat’s waste, many are surprised that it can yield effective results when used within the interior of shoes. Keeping a small cup of fresh cat litter by the bed can be used to pour into the interior of shoes nightly. Pour approximately 1/4 to 1/2 cup of cat litter within each heeled shoe. Upon pouring in shuffle to allow the cat little bits to come into contact with all areas the the foot would normally come into contact with. In the morning, this cat litter can be poured back into the cup to be used the following night.
 With enough time, the use of activated charcoal can work well in absorbing difficult odors from the interior of high heels. Begin by finding an old pair of nylons and cutting the leggings apart into two different parts. Next, drop two to three charcoal briquettes into each and tie a know to enclose them within the foot areas of the leggings. Finalize by placing the nylon enclosed charcoal briquettes within each of the high heels and allowing them to sit over night. Continue using these activated charcoal inserts nightly until no odor remains within the shoes.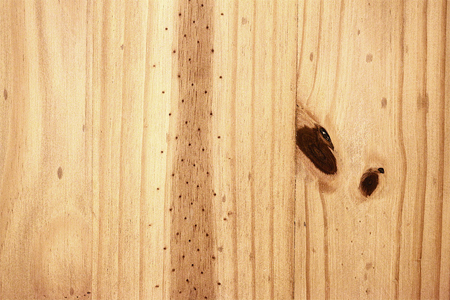
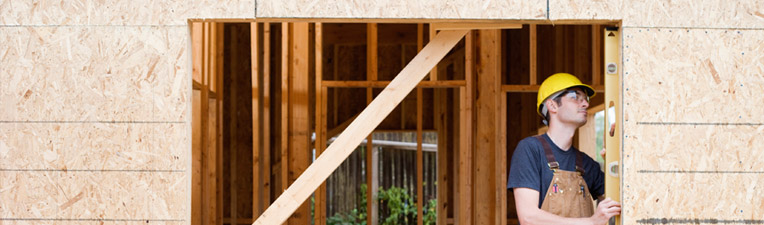
 As a preliminary step, you will want to make sure that you have blot dried all of the urine from the surface of the plywood. When blot drying, you will want to blot with all bodily weight with a secondary hand towel or paper towel to press out as much urine as possible. The more urine that gets removed early on, the better chance you will have of lifting the ammonia based odors from the fiber surface.
 As a final step, opening a window will help in drying out any moisture that may remain within the wood. This will allow fresh air to sweep within the room to provide for better circulation. Drying out moisture within the wood is important because mildew can develop within the wood fiber it it remains moist for too long a period.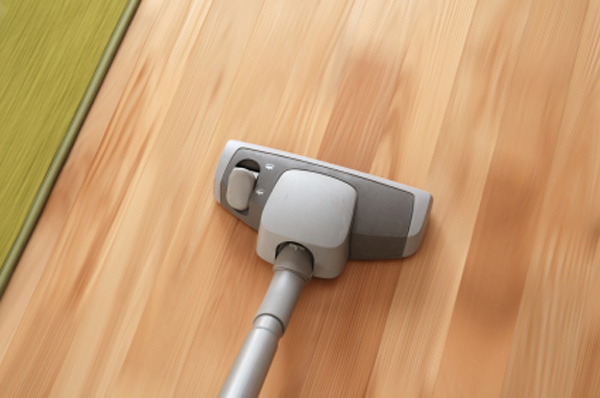

 If baking soda has been ineffective lavender oil can have a powerful effect at covering up any odor within the vacuum cleaner. Dip 5-10 cotton balls within eucalyptus oil and place them on the ground. Next, suck the balls up and into the vacuum cleaners bag. This heavily scented compound will work to freshen the inner working of the machine over the subsequent days.
 Lavender oil can be used in place of eucalyptus oil to cover and treat any unwanted vacuum cleaner odors. Similarly, you will want to dip 5-10 cotton balls within lavender oil and place them on the ground to be sucked up within the machine. Once within the machine, they will work to deodorize the interior of the vacuum cleaner.
 Carpeting powder can have a similar effect within a vacuum cleaner as it is meant to have on carpeting. Sprinkle a 1/2 cup of this deodorizing powder on the floor and proceed to vacuum it up within the bag. Allow for the powder to sit for 24-48 hours for the finalizing effect to take place on the machine.
 This solution can have a powerful effect on the output of fumes sent out from the machine. This solution is rather simple, and only require sucking up 4-5 unused dryer sheets within the machine. Once completed, the scented sheets will ensure that most odors will be masked within the machine air pushed output.
 As a final solution, the vacuum cleaner bag can be emptied or even thrown out with particularly difficult odors. Vacuum bags are not particularly expensive and can be a sound solution for saving time while fixing odor.

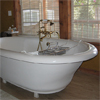
 Gently place the sheepskin within the bathtub mixture face down so that fur is facing downwards. Once completed, reach under the sheepskin and work the solution into the fibers. During this process, you will want any loose debris to fall clear of the hid while allowing the baking soda mixed waters access to the most smelly areas of the rug. Once you have hand scrubbed the bottom side of the entire rug, slowly lift the rub out of the bath tub. At this point you will want to squeeze as much moisture from it as possible.
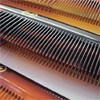 Once the entire sheepskin have dried outside, it can be brought indoor for a final combing to get it fluffy and presentable for home decor. As a final step, two teaspoons of baking soda can be disbursed over the sheepskin’s fur to maintain freshness and ward off future odors. After a few seconds of rubbing, the powder will find it’s way into the fiber and will no longer be visible.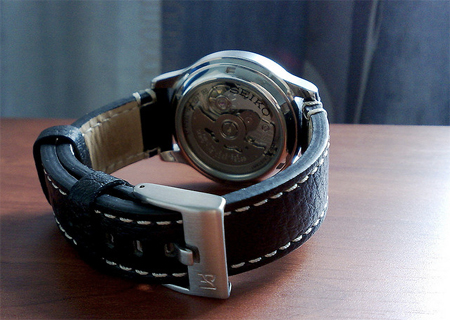
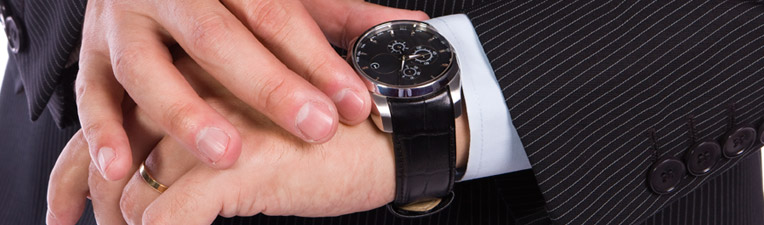
 Baking soda has been used for generations in extracting unwelcome odors from household items. Within a small bowl create a baking soda paste of one part baking soda to three parts water. Once mixed, submerge the leather watch bands within this formula and allow it to sit for 24 hours. During this time, the leather fiber will be loosened up and the baking soda will work to absorb the available odor. After this time period has passed, remove the watch bands and place them under the facet to wash away any baking soda paste that may remain on it. Finally, complete this solution by laying the watch band within the sun to air dry.
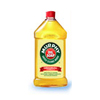 As far as product solutions go, Murphy’s Oil Soap can work wonders in eliminating harsh leather odors while remaining sensitive and gentile to the wrist bands appearance. Apply generous amounts of this solution to the watch band and allow it to sit for 2-3 hours. After this time rub away any excess and set aside for the fiber to naturally dry out.