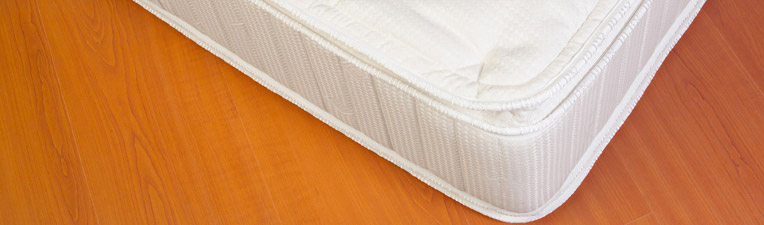
After purchasing a new mattress, you may find that it emits an unwanted chemical stench within the bedroom. This manufactural scent can cause much discomfort and take weeks to fully dissipate..
Although the smell can be difficult to handle, there remain several home remedies for removing this chemical aroma. By following the below solutions, you can sleep soundly knowing that this chemical smell is eliminated.
Smell Removal Solutions for New Mattress
1 Bowls White Vinegar
 Using this household acid within bowls around the bedroom can do much to expediate the deodorizing process of the mattress. Mix a solution of white vinegar and warm water in equal parts and pour within 3-5 bowls. Place these vinegar filled bowls within strategic locations around the bed and keep them in place for 3-5 days. This solution will work to slowly neutralize the chemical odor within the mattress as the vinegar evaporates within the bedroom.
2 Activated Charcoal Under Bed
 As an alternative solution, activated charcoal can work well in absorbing difficult chemical stenches within a new mattress. Gather 12-18 activated charcoal briquettes and spread them out on the underside of the bed’s mattress. Over the course of 5-7 days, the charcoal will work to lift away any odors residing within the new mattress.
3 Enzyme Spray Down
 As a quick deodorizing solution, enzyme cleaning spray can be used to eat through chemical residues within the surface of the mattress. Acquire enzyme spray at your local pet store or large supermarket, and proceed to spray down the smelly mattress while making sure that no area is left untouched. Finalize by opening the windows within the bedroom and allowing the enzyme moisture to naturally evaporate away.
4 Vodka Spritz
 The high alcohol content within this solution works well at neutralizing odors on contact and quickly evaporating away. Mix equal parts of water and vodka within a generic spray bottle and proceed to mist down the smelly new mattress. You can finish this process by opening the windows and allowing the moisture to quicklt evaporate away.
5 Bowl of Cut Onions
 As a final solution, using the home remedy of cutting up onions will help to absorb difficult odors from a new mattress. Take one onion and cut it up into quarters, placing one part within four different bowls. Fill each of these bowls with a half cup of water and place them in key locations around the mattress. Allow the onions to work their absorption magic over the course of the following 2-3 days before removing the bowls and enjoying a freshened mattress.
Photo credit: Ryan Bieber
[contact]

 As fast solution for lighter odors, the smelly pillow and fabric softener sheets can be be placed within the dryer. For best results, place at least 4-6 fabric softening sheets in within the dryer and run on the lightest setting for 20-30 minutes. This solution only works with synthetic and is not recommended for feather pillows.
 As another solution for minor odors, baking soda can be sprinkle within the pillow case. To perform this solution, measure a quarter cup f baking soda and lightly sprinkle the ingredients into the pillow case on both sides. Proceed to shut the opening of the pillow cases and give it a good shake to evenly disperse the deodorizing powder through the inside of the pillow. Performing this task once a week should have a freshening effect of the underlying pillow.
 Check your pillow’s tag to see if it can be placed within the machine machine and dryer. If it is synthetic, there is a good chance that you will be able to put the pillow through an entire laundry cycle. Although regular detergent will work, it may be a good idea to run the use a specialty detergent that is engineered to specifically combat odors. Be sure to follow the limitations set by the pillow’s tag as they can often require delicate washer and dryer settings.
 If the pillow is more than a year old, you may want to consider just buying a new one. Pillows are rather inexpensive and are an item that you use nightly. A ten dollar purchase of a new pillow may be an investment that will pay off in the end.
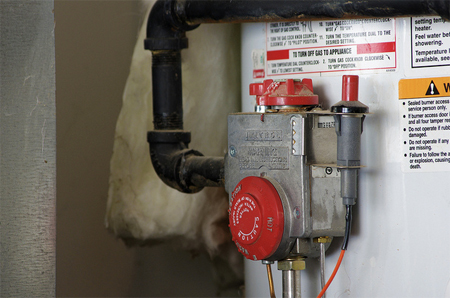
 Initially, you will want to check the anode to see if it has been compromised or become corroded. If it has, you may be required to replace it to cut down on the production of bacteria. While selecting a new anode to replace the corroded one, it is better to buy a aluminum or zinc one that will lead to a lower production of bacterial creation within the water heater. If you can help it, avoid replacing your anode with a magnesium one as these often break down at a faster rate.
 This solution relies upon shocking the water heater tank with high levels of bleach or chlorine in order to completely kill off the bacteria residing within the tank. As a principle, you will need to pour one gallon of bleach or 1/2 gallon of chlorine for every 30 gallons of water within the heater. For complete instructions on sterilizing your water heater with bleach,
  As a final solution, the temperature of the water heater can be raise to a level in which hot water will not be able to survive. To perform this task, the water heater must reach 160 degrees Fahrenheit or 71 degrees Celsius for 3-6 hours. Doing this on a regular basis should have the effect of keeping bacteria levels down and maintaining fresh smelling water.
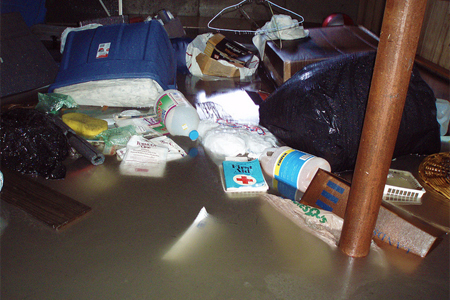
 As a preliminary step, you will need to fix any water pipe leaks or water passages into the basement and drain the water out. In most cities, professional services can be hired to perform the task of pumping out all of the water level found within the basement’s space.
 If you notice that the basement might need something a bit more substantial than area fan to properly dry out the space, you may want to consider buy a dehumidifier. This machines will work to pull all of the available moisture out of the space and make it very difficult for mildew to grow within the space.
 If a mildew odor remains after everything within the basement has been properly treated and dried out, you may want to consider renting an ozone machine. These machines are highly effective but also require precaution during their use. It is extremely important not to be with the space it is treating as it can be deadly within extreme cases.
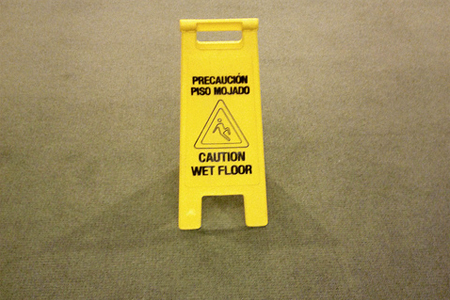
 Although there may already exist some level of mildew within the carpeting, it is important to treat it quickly before it becomes much worse. Mildew has a way of continually growing with time if given the proper environment to grow. This is why it is very important to quickly remove the moisture within the carpeting in order to eliminate the source that mildew relies upon.
 In order to dry the carpeting, you will first need to blot dry the carpeting with a clean dry towel. For best results, place your full body weight being the towel to draw out as much moisture as physically possible. Once no additional moisture is being pulled from the carpeting or underlying padding by towel, it will be time to setup an area fan that will be set to be aimed at the mildew area of the carpeting. Drying the carpeting before treatment is important because smells often can go away once it has become completely dry.
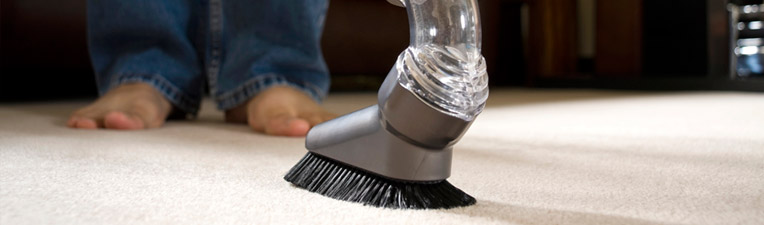
 If white vinegar has not been effective in removing the mildew stink, enzyme cleaning solution can have an even more powerful effect. Pour enough of this product solution onto the carpeting until it has sufficiently soaked the the fiber and underlying padding. Allow the product to sit for 24-48 hours while the active enzymes within the solution literally go to work in eating it’s way though the mildew. After this time period have passed, return to blot dry any remaining enzyme moisture and proceed to run an area fan at the location until it has dried.
 If white vinegar has been ineffective at eliminating the mold odor, soaking the towels within a solution of enzymes can yield positive results. Fill a bucket with enzyme cleaning solution and water measured in equal parts. Next, submerge the affected towels within the solution and allow them to sit for 4-6 hours while the active enzymes literally eat their way through mold infestations. Upon completion, the towels can be removed and placed through a wash cycle with the addition of 1/2 cup of baking soda.
 This product solution can have a powerful effect in killing the mold and freshening the towels. Again, you will want to mix a solution of Oxiclean within a large bucket and submerge the mold affected towels within the solution. Once completed, place them within a detergent wash that contains the extra addition of a full cup of white vinegar within the cycle.
 Although it may seem that these solutions have been completed restored the affected towels, it is always a good idea to hang items recovering from mold or mildew odor outside within direct sunlight. These open space, fresh air and ultra violet rays of the sun will go to work in eliminating any remaining mold spore to freshen the towel.
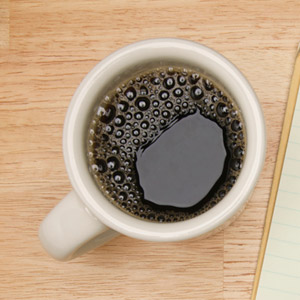
 Often, all that is needed is to submerge the mug within extreme hot water and simply mix in dish detergent. After the water has cooled to the point that it can be handled, proceed to give the interior of the mug a great internal scrub. Finish by allowing the mug to be resubmerged within the bath of dish detergent and warm water for 1-2 hours before rinsing off and putting back into use.
 The use of rubbing alcohol can work well in cutting through the stale coffee residues within the interior of the mug. Fill the mug with hot water for 5 minutes before wiping down the interior of the mug with a dish cloth that has been soaked within rubbing alcohol. Allow Perform this task for 1-2 minutes to ensure that the alcohol has a fighting chance against this built up odor. Upon completion, rinse out the rubbing alcohol and put the mug back within use.
 Many in older generations know this brand because they use this product to clean and deodrize dentures. Despite the different use, it can have a powerful effect on removing unwelcome coffee odors that may exist within the confines of a daily mug. Simply drop an efferdent tablet within a filled mug of water and provide several hours for it to provide deodorizing results.
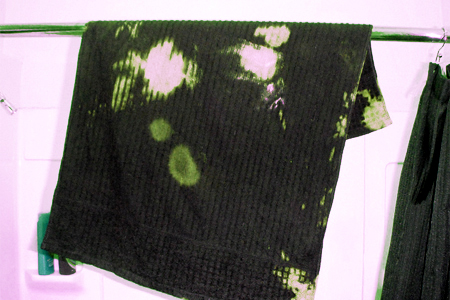

 The first thing you will need to do is access the damage within the room and search out visible mold within the space. Upon your findings, decide whether the mildew odor is associated with a surface are problem or whether it is something deep within the foundation and surrounding walls. In such cases, you the mold’s structural damage may be outside your own grasp and might require the help of a trained professional.
 If any visible mold was found on the walls, it is important to follow behind the initial treatment with mold killing and sealing paint. Kilz is a popular brand of paint that can work well in covering up the problem to provide a fresh start within the worst areas. To be safe, make sure that all areas around the affected space are painted.
 Once the space have been treated, spend time looking for any wall or floor cracks, moisture leaks, or weeping walls within the space. These problems should be treated immediately if any issues are found. Next you items will be ready to be moved back within the space. Make sure that they have received several days of direct sunlight within the yard and have been appropriately treated with white vinegar. While bringing them back within the space, it is important that they are not placed directly against any of the walls to provide some breathing room.
 If you are finding that the mold continually returns, it may be time to seek out a
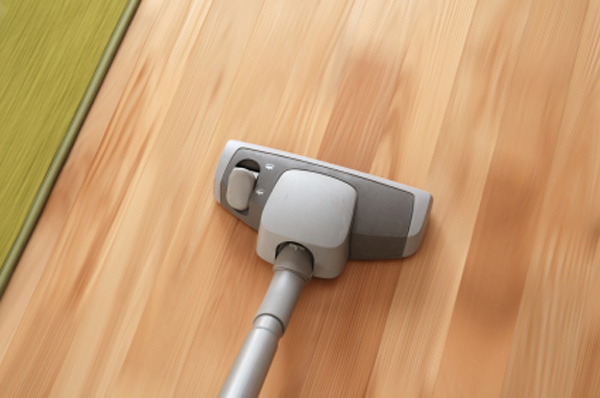

 If baking soda has been ineffective lavender oil can have a powerful effect at covering up any odor within the vacuum cleaner. Dip 5-10 cotton balls within eucalyptus oil and place them on the ground. Next, suck the balls up and into the vacuum cleaners bag. This heavily scented compound will work to freshen the inner working of the machine over the subsequent days.
 Lavender oil can be used in place of eucalyptus oil to cover and treat any unwanted vacuum cleaner odors. Similarly, you will want to dip 5-10 cotton balls within lavender oil and place them on the ground to be sucked up within the machine. Once within the machine, they will work to deodorize the interior of the vacuum cleaner.
 Carpeting powder can have a similar effect within a vacuum cleaner as it is meant to have on carpeting. Sprinkle a 1/2 cup of this deodorizing powder on the floor and proceed to vacuum it up within the bag. Allow for the powder to sit for 24-48 hours for the finalizing effect to take place on the machine.
 As a final solution, the vacuum cleaner bag can be emptied or even thrown out with particularly difficult odors. Vacuum bags are not particularly expensive and can be a sound solution for saving time while fixing odor.
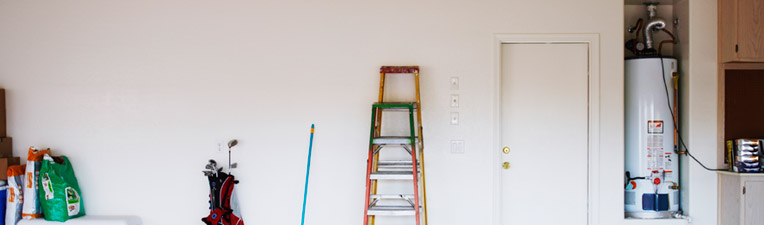
 It is important to always keep dog related debris off of the flooring. Regularly sweep up the skin cells and loose hair from the flooring to prevent these materials from accumulating. If these types of materials are not kept in check, they can easily end up in all areas of the garage and present a deodorizing challenge.
 It is smart to do a quarterly mop of the flooring in the garage with enzyme cleaning solution. This cleaning formula harnesses the power of active enzymes to work in eating the odorous organics emitted by the dog. In cases where there flooring has carpeting, a steam cleaner with enzyme deodorizing shampoo can be used.
 Improperly groomed dogs are often the source of smells within garage living spaces. Since most musty stenches begin with the dog, it only makes sense that a well groomed dog to keep a fresh smelling garage and home. If your dog has smell issues, aim for giving the dog monthly shampoo bathes.
 It’s important to have machine washable covers on the dog’s bed and any furniture that the dog regularly spends time on within the garage. This will help in preventing high levels of dander from building deep within the padding, and will allow for removal of the contaminated surface for a machine wash cycle.
 Much of the dog odor within a garage comes from poor circulation and the resulting accumulation of musty stale air. Try to always keep a window open with a window fan running to prevent this from happening. Of course, this practice can be placed on hold during winter months when weather will not permit it.
 Building a dog door to the backyard can help in preventing any late night urinating within the garage. This is a regular problem for many dogs that are confined within a garage. A owner’s long work hours and busy schedules can lead to a very smelly situation developing within the garage.