
Spending time around the campfire is a wonderful pastime for friends and family. Regrettably, the smoke created can quickly make it’s way within clothing while conversations are being held and stories being shared.
Fortunately, there remain several household solutions for lifting the campfire aroma off from clothing. By following some of the below suggestions, you will be sure to remove this smokey stench to return your camping clothing to normal.

Traditional Washing Solutions
1 Always Use Hot Water
 Smells are best extracted by using while using hot water. Before beginning a washing machine cycle, be sure to check the tags of your clothing to discover the maximum level of heat that they can withstand. Once you know the limitations, be sure to set the wash cycle to the maximum amount of heat that the clothing will withstand. Doing this will help to open the clothing fiber and allow for easier access of the detergent to the odorous campfire residues located on the clothing.
2 White Vinegar Cleanse
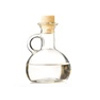 This household acid works to cut through difficult odors and add an extra deodorizing kick within any wash. Measure a full cup of white vinegar and pour within the beginning of a normal detergent rinse cycle that includes the campfire affected clothing.
3 Baking Soda Boost
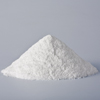 Similar to white vinegar, baking soda is another kitchen ingredient that has long been used to add a deodorizing boost within washing machine cycle. Begin a normal detergent wash cycle with the affected clothing, and simply pour in a half cup of baking soda within the first five minutes of the cycle.
4 Let Enzymes Eat It
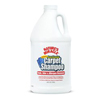 Using an enzyme cleaner will have the effect of literally eating the smelly campfire residues off of the clothing. Mix a solution of one part enzyme cleaner with ten parts warm water and dunk the affected campfire clothing within the mixture. Allow for the clothing to sit for 2-3 hours before lifting the contents from the solution and placing within a normal detergent wash.
5 Hang In Sun
 Rather than drying the clothing within the dryer, opt to air dry it outside within direct sunlight. The open space, fresh air and ultraviolet rays will all work to help in neutralizing the unwanted odor. If you suspect that a campfire odor still remains after placing your clothing through the washer, this is a good option to add additional freshness within the clothing fiber.
Deodorizing Solutions Without Washing
1 Vodka Spray Down
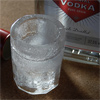 Besides being an excellent party drink, this substance has been used for generations for deodorizing unpleasant odors. Mix a solution of vodka and warm water within a spray bottle. Proceed to spray down the interiority of the clothing and hang them outside within direct sunlight. As the vodka quickly evaporates, it neutralizes the campfire aroma and dries away odorlessly.
2 Lemon Juice Squeeze & Spray
 The citric acid within lemon juice can work wonders in eliminating unwanted odors. Mix one part lemon juice with eight parts warm water within a spray bottle. Mist down the entire outside of area of the affected clothing until it is sufficiently moist. Hang the clothing outside within direct sunlight and provide 3-4 hours for the formula to dry and for the campfire odor to be lifted off.
3 Deodorizing Product Spray
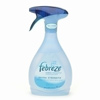 On short notice, a variety of deodorizing product sprays can be used to lessen the built up smell of campfire odors. Simply spray down the affected clothing and provide 30-90 minutes for the moisture to dry off and leave the clothing smelling fresh. Packing a bottle of Febreze with your camping supplies can go a long ways in covering and eliminating campfire odors.
4 Activated Charcoal Box
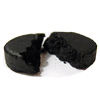 If you have the time, using activated charcoal to deodorize your camp clothing can be an effective way to eliminate campfire odor without using any moisture. Place activated charcoal briquettes within an old pair of nylon leggings and place in an enclosed box with the campfire affected clothing. Allow for the content of the enclosed box to sit for 5-7 days before returning to remove the freshened clothing.
Photo Credit: Martin Cathrae
[contact]
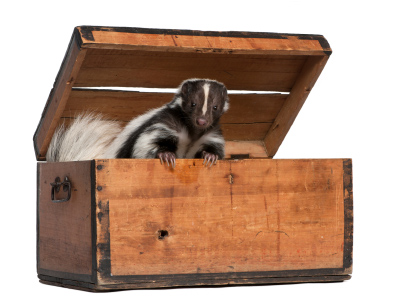
 The sooner that you take action to wash and deodorize your clothing the better chance you will have to remove the residual effects of skunk spray. As a general rule of thumb, try to place the clothing within a deodorizing wash within 1-2 hours from the initial contact.
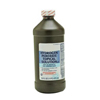 This household compound works equally well at breaking down skunk spray oil within clothing, however it is only recommended for white clothing due to bleaching properties within the substance. Mix one part hydrogen peroxide with six part warm water and dunk the affected clothing within the formula. After the clothing has soaked for 1-2 hours, remove and place within a washing cycle. Similarly, you can place a half cup of baking soda within the beginning of wash cycle to provide additional freshness.
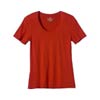 The acids within tomato juice work well in breaking down the oils within skunk spray. However, this solution can have harmful staining effects on all colors of clothing except for red and black. If the affected clothing is of a black or red color, consider soaking it within a bowl of hot water and tomato juice in equal parts and a teaspoon of dish detergent.
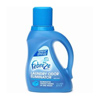 This is a relatively new detergent developed by Frebreze to directly combat odors within clothing and linens. In comparison to other detergents, many have found this product to be much more effective at tacklign difficult odors to return freshness within the rinse cycle. If the above solutions have not been effective at removing skunk spray odor from your clothing, you may want to give this product a go.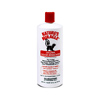
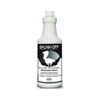 There are several spray products that work well to mask and eliminate unpleasant odors. Using Febreze or a stronger spray related product like “Skunk Off” can be helpful to quickly freshen clothing. This comes in great use for lightly affected clothing that has caught the residual skunk odor from a recently sprayed dog coming into the house. Simply spray down that clothing and provide 30-45b minute for the clothing fiber to dry before use.
 When the above solutions are not enough to remove the residual effects of skunk spray, consider getting professional help from your dry cleaners. Though this is a pricey solution, many professional dry cleaners will only make you pay if they can get the smell out of the clothing. Additionally, this solution works well with clothing items like leather jackets that cannot be placed through a wash cycle.
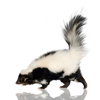 If you happen to spot a skunk, be sure to keep a healthy distance of at least 30 feet (10 yards) and do not do anything to agitate them. Skunks can spray with accuracy at 10 feet and can still mist your clothing at a distance of 15 feet. As long as they do not feel threatened they will not resort to using this line of defense.
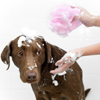 Be sure to change into old clothing before approaching your dog to wash and deodorize it’s fur. Dogs are often covered head to tail in skunk spray, and you should anticipate some of this rubbing off on your clothing. Although some of your clothing may still get smelly during this process, you can rest easy that it is not an outfit that you care about.
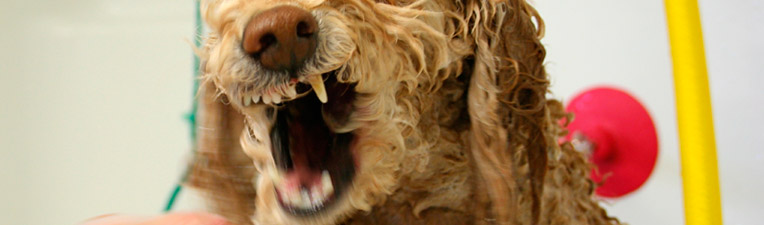
 The longer you wait to clean and deodorize you canine companion after a spray the more challenging it will become to remove the unwelcome odor. If not treated immediately, the skunk spray oils have the unique potential of being embedded within the fur and the smell lasting up to two years. As a safe margin of treatment, try to clean and deodorize your dog’s fur within two hours of the initial spray.
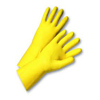 Before you com into contact with your dog, know that the skunk related oils will likely come into contact with your hand and clothing. These odors can be challenging to remove from your palms and are almost impossible to remove from clothing. For this reason, it is wise to place on rubber gloves and thrift store clothing before coming into contact with your dog.
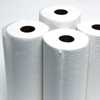 The majority of skunk sprays only hit part of your dog’s fur. Before attempting to clean and deodorize your dog, you can help to absorb and contain the smells within the affected area. First locate the area of the spray and proceed to pat the dog down within the affected areas with paper towels to absorb as much odorous oil as possible. Using a paper towels are key, as these oils are unlikely to ever be fully removed from traditional bath towels.
 Before you let your dog inside, do an evaluation of whether you can clean and deodorize your dog outside before allowing them into the house. Allowing your do to walk though the house can quickly fill the home with the odor and infuse the stench within the flooring, walls, linens and clothing. If you have a working garden hose outside, it is recommended that you fully treat the dog before letting it indoors. If not, be sure that you have prepared one of the below deodorizing treatments and that you take your dog directly to the bathroom to clean and deodorize it’s fur.
 Once you have taken some of the above precautions, mix a bowl of your dog’s shampoo and tomato juice within equal parts. Once completed apply this solution on your dog making sure that no area is left untouched. As an additional precaution be sure that that tomato juice has 2-3 minutes to soak in and neutralize the odor before you rinse the solution free from your dog. As an extra precaution, be sure to rinse and repeat at least once. This will help in striping away any remaining skunk spray oils that may remain within the dog’s fur.
 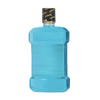 This is a highly effective substitute to tomato juice for de-skunking your pup. The great advantage to using this solution over tomato juice is that it leaves no scent and does not have the potential for staining the canine’s fur. Mix a solution of mouthwash and doggy shampoo within a bowl and proceed to apply the solution to every square inch of your dog’s fur. Provide 2-3 minutes for the solution to strip the skunk spray oil and then proceed in rinsing the mouthwash blend from your canines fur. Similar to tomato juice, it is a good idea to rinse and repeat at least once to catch any residual skunk odors that my continue to lurk within your canines coat.
  To make this household deskunking concoction, you will need to mix one quart of 3% hydrogen peroxide, 1/4 cup of baking soda and one teaspoon of dish detergent within a bowl. It is important to first wet your dog’s fur, and then proceed to rub this mixture within your canine’s coat. Allow for the mixture to set for 3-5 minutes before rinsing and repeating with the solution.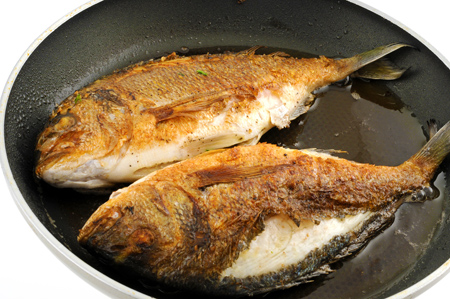
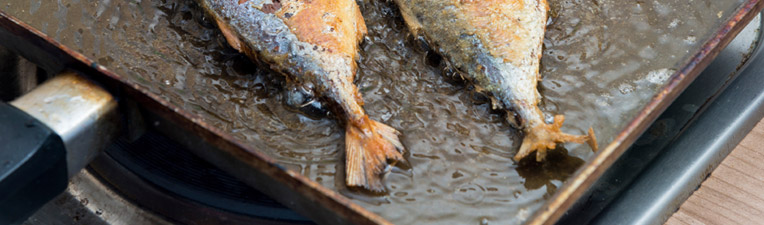
 Taking this step prior to cooking fish will save you much headache later on. Be sure to open all of the windows within the kitchen as well as the windows within any rooms that connect directly with your cooking space that do not have a sealable door. As another rule of thumb, leave the windows open 10-15 minutes after you are finished cooking.
 Running the stovetop fan does much to suck out the most odorous scent of cooked fish from the kitchen and send it directly outside. The fan is located directly over the oven and stove, and works to catch the fish scent as it naturally climbs upwards prior to spreading throughout the home. As a preventative step, always begin the fan prior to beginning to cook your fish.
 Keeping the kitchen door closed is essential to making sure that the smell of fish does not make it’s way thought the home. As a guiding principle, close the door prior to cooking and keep the door to the kitchen shut a total of 10 minutes after the cooking has completed. To take this step one further, a towels can be used to seal up the space under the kitchen door where the stench of fish may slip though if otherwise not in place.
 Cooking fish within the oven creates less of a characteristic fishy smell than cooking fish on the stove top. Be sure to still run the stovetop top fan as this will work to further minimize the odors that are coming out from the oven.
 Use of cheap cooking oils like vegetable oil can add to the odor problem. Many on them have a characteristic smell that can intensify the fishy stench within your home. Whenever you are frying fish on top of the stove top, always make an effort to cook with olive oil.
 Bleach works in a similar fashion to strip the walls of organic fish related build-up. Mix a solution of one part bleach with ten parts hot water, and proceed to scrub down the walls, ceiling and cabinets of the kitchen with a disposable rag. The windows can be open to speed the drying and minimize the chemical odor of the bleach within the kitchen.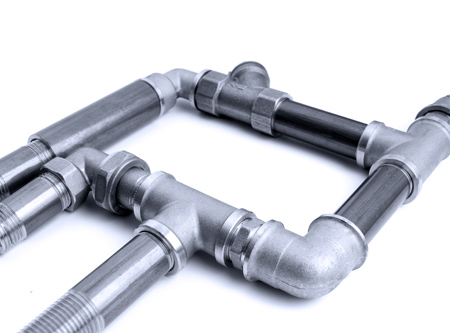

 Often chemical cleaners can only do so much in neutralizing built up organics and bacterial within pipes. Often what is needed is a device to hook onto hair and larger debris that would otherwise stay fixed within their location. Though these product do not combat the bacteria they do their part at removing obstructions within the pipe where odorous bacteria live.
 This solution works for more than your sanitizing your kittens droppings. Sprinkle a heavy amount of unused cat litter over the location of the accident. Provide 2-3 days for the solution the absorb any remaining odors before returning to vacuum the pet product from the carpeting. Be sure to vacuum thoroughly as the product can get deep down within the carpeting fiber.
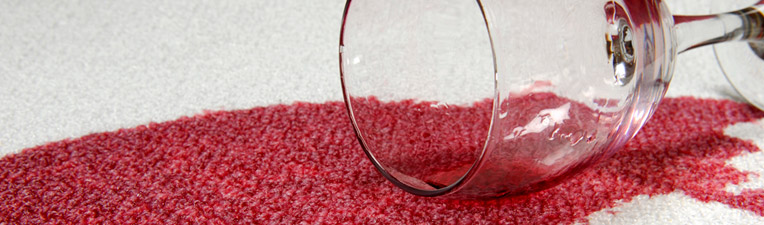
 If you have not had luck with the above methods, you may consider renting a carpet cleaner to treat the wine-related odor. Carpet cleaners work well at getting deep-down within the carpeting and underlying padding to clean and deodorize spills. Also, many carpet cleaning rental locations offer enzyme cleaning solution that works within the device. This is an effective way of giving the machine an extra boost over the traditional shampoo.
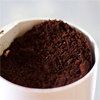 Coffee grounds can be used to absorb odors from a variety of spills. Place a paper towel over the affect area of the carpeting and pour a hefty amount of coffee grounds of the the location. Provide 2-3 days for the coffee grounds to slowly absorb the odor and replace it with the subtle aroma of morning brew. Please note: This solution is meant to treat the odor and not the spill itself. When applying this solution the affected area of the carpeting should be dry. If the area is wet, the is potential for the coffee ground to stain the underlying carpeting.
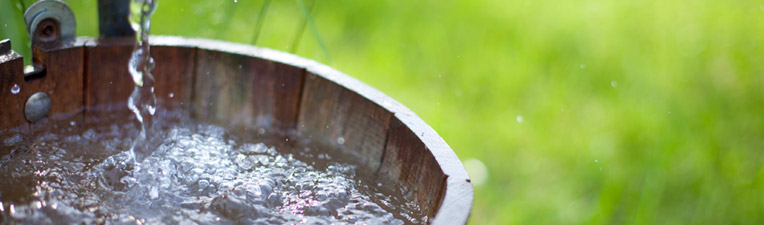
 In the great majority of cases, the smell of sulfur and other unpleasantness permeating from well water is perfectly safe and does not represent a health issue. The smell is most often the result of sulfur bacteria which occurs naturally within the ground. However, there there have been reported cases of sewage leaking into well water that can cause similar odor to sulfur bacteria. In order to be absolutely sure, you can have a sanitary test performed to record levels of coliform bacteria and nitrate within the ground water.
 When it is found that both the hot and cold water carry the same smell of sulfur, it is very likely that the sulfur bacteria has made it’s way within the the well water, water distribution center and water softener. Though the treatment of sulfur bacteria within these areas are not always easy, the following steps can be performed to ensure fresh smelling well water. 1. When sulfur bacteria is found within the well water, water distribution center or the water softener, can be treated by flushing with a strong chlorine solution. Often this is not enough, and the well may need physical scrubbing performed of the interior walls with strong cleaning solutions. 2. If the sulfur bacteria is found within the water treatment device or water softener, you should contact the manufacturer to regarding treatments for disinfecting the devices.
 If hydrogen sulfide gas exists within your ground water, there are several things that can be done to further treat the water to remove the sulfuric odor. If you are dealing with low doses of hydrogen sulfide gas, it is likely that all you will need is an activated carbon filter. If your hydrogen sulfide gas problem presents a problem of 1mg/L – 6mg/L you may need to purchase an oxidizing filter. Finally, the hydrogen sulfide gas is at a reading over 6mg/L you will need to install an oxidation-filtration system.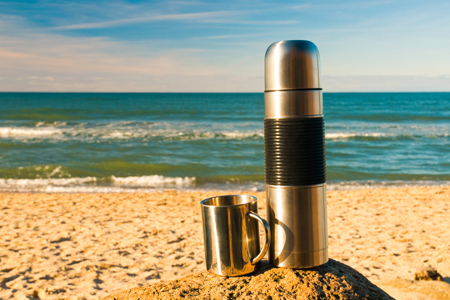

 After much use, beverage build-up within the thermos can develop and create an unpleasant odor. This is something that you will want to keep in check by continually scrubbing the interior walls to remove. If the build-up is particularly resistant, you may want to consider soaking the thermos in hot water and scrubbing it with the rough side of a sponge.
 Similar to white vinegar, apple cider vinegar works by applying it’s natural acid to eliminate unwanted odors within the thermos. Though both forms of vinegar yield a similar result, apple cider vinegar is significantly more expensive than white vinegar. To apply this solution, fill the thermos up with one part apple cider vinegar and ten parts hot water. Proceed to seal the lid of the thermos and provide a long waiting time of 5-6 hours for the apple cider vinegar to produce it’s results. Once this time has passed, pour the contents out and rinse the thermos out.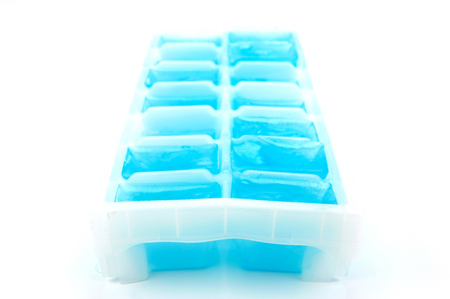
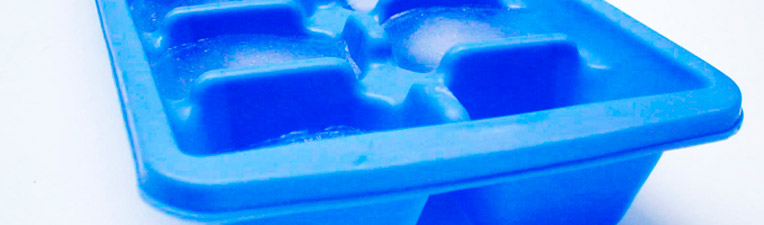
 Using rubbing alcohol can work well on short notice. Similar to vodka, this solution relies on alcohol to quickly neutralize any freezer odors and retune the tray to normal. Soak a small rag with rubbing alcohol and proceed to wipe down the ice cube tray. Pay close attention to whip all areas within the ice cube molds to ensure that the areas become sterile and deodorized. Once every crevasse has been wiped, allow 5 minutes for drying before giving the tray a steady rinse under the sink. Once complete, place the ice cube tray back within use.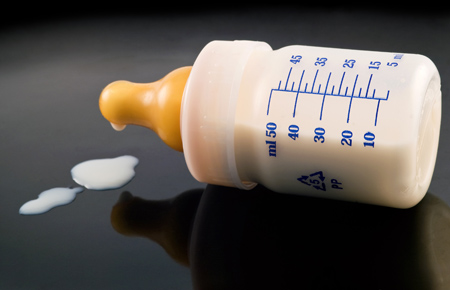
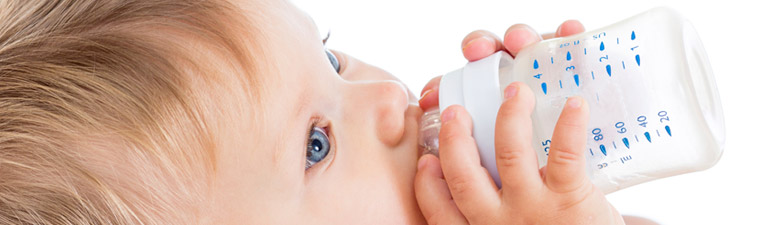
 Coffee in the form of ground and drink can be used to solve a number of household odor problems. Make a small pot of decaffeinated coffee and pour within the top of the baby bottle seal the top, and allow for the bottle to sit for 1-2 hours. Once this time has passed, pour out the decaffeinated coffee and rinse out the bottle before refilling with your baby’s milk.