
When we have sniffed something that is especially foul, a residual stink can develop within the nose. This is often the result of odorous particles making their way within the nose and lining the walls of the nostrils.
Although many people rely on waiting it out and allowing their nostrils to aerate, there are a handful of solutions for speeding the freshening process. By following the below solutions, your nostrils will be cleared to freshly smell whatever it is the you like.

Solutions for Removing Smell from Nose
1 Homemade Nasal Deodorizer
A Gather Sport Water Bottle + Baking Soda + Salt
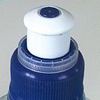 You make your own household nose cleaner from a range of household ingredients. You will need to track down a sport water bottle, some baking soda and salt. The salt will work to allow the fluid to go into your body without it immediately rejecting it, while the baking soda provides a deodorizing effect. You will need to make sure your sort water bottle contains a suction nipple for this solution to provide desired results. See example in adjacent photo ->
B Mix Ingredients
 You will want to partially fill a clean sports water bottle with a cup of warm water and teaspoon of baking soda and salt. Next, you will need to close the cap and give the mixture a good shake to ensure that the salt and baking soda completely dissolves within the mixture.
C Apply to Nose
 To apply, you will need to open the valve on the water bottle’s nipple and press the opening against one of your nostrils while creating an airtight connection. Tilt head silty and begin to squeeze the bottle and allow the deodorizing substance to flow through your nasal passage way. You will then need to proceed to doing this with the other nostril to completely wipe out the unwelcome aroma within your nose.
2 Nasal Spray + Baking Soda
A Apply Baking Soda
 As the preliminary step, you will need to apply baking soda within your nose. This is best accomplished by moistening your finger and sticking it within a mound of baking soda. This will cause heavy amounts of baking soda to naturally clump to your finger. Next, you will need to stick and then twist your finger deep within your nose. Twisting finger will ensure that much of the powder will reside within the walls of you nostrils. Once both nostril walls are covered in baking soda, you may appear to have a dangerous drug habit, but rest assured that baking soda is doing it’s job.
B Squirt Nasal Spray
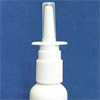 After applying baking soda, proceed to use two bursts of your nasal spray within each nostril. This will help to dilute the baking soda and allow the deodorizing powder to work it’s magic deep within your nasal passage way. Finish by blowing nose and wiping away any baking soda remaining on nostrils.
[contact]


 As your first step, it is important to immediately open all windows and doors within your home. This is especially important with the windows within the kitchen that are close the source. This will allow fresh air to sweep through the home and sweep out the unpleasant burnt popcorn smell as soon as possible.
 As a secondary action, you will want to throw out the chard remains of your burnt popcorn within the outdoor trash. These remains continue to emit odorous smoke long after they have been cooked, so take action as soon as possible to remove them from the home.
 Once you have air out the home and removed the burnt popcorn, you can begin to make a white vinegar deodorizing spray. This household acid will work to cut through the smelly residues that cling to the surfaces of walls, flooring and counter tops. Begin by mixing a solution of one part white vinegar with four parts warm water inside a generic spray bottle. Proceed to spray the kitchen and affected adjoining rooms with a deodorizing mist. Once you have made sure that all areas have been lightly sprayed, leave the windows and doors open to allow the moisture to naturally evaporate away and freshen the home.
 In a similar method to vinegar, the use of lemon juice leverages the natural citric acid within the fruit to cut through odorous residues on household surfaces. Mix a solution of one part lemon juice with eight parts water and proceed to mist down all burnt smelling areas of the home. Once completed, the popcorn stench will be eliminated and replaced by a fresh smelling lemon scent inside the home.
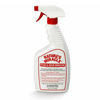 An enzyme based deodorizing spray can be used as a faster and more effective solution for eliminating burnt popcorn odor. This solution uses activated enzymes that will work to eat through the odorous burnt organics within your home’s surfaces. Similar to previous solutions, you will need to lightly mist down all affected areas within the kitchen and adjoining rooms before allowing it to deodorize and dry away on it’s own.
 As a final solution, a mixture of cinnamon and vanilla extract boiling on the stove can have a powerful impact in covering any burnt odors. Mix a solution of four cups of water and three teaspoons of cinnamon powder and vanilla extract within a pot. Heat the mixture within the pot and remain it at a boil for a minimum of 30 minutes. The resulting aroma-based steam will help in covering the unwanted stench of burnt popcorn odor in the kitchen and home.
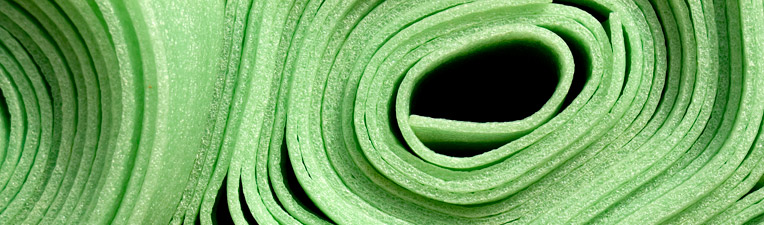
 The citric acid within lemon spray can work well with many odors found within foam. Mix a solution of one part lemon juice with eight parts water inside a generic spray bottle. Move forward with spraying down the entire surface area of the foam, ensuring that no affected area is missed. Similar to the white vinegar spray, you will want to proceed with hanging the recently treated foam outside to properly deodorize within open space. Once the foam has completely dried, the freshened foam can be brought inside and placed back within use.
 Many may be surprised that this party drink has been used by many for generation to deodorize household items. The high levels of alcohol help to wipe out odorous residues on contact and dry away without imparting a sharp alcohol stench. Pour a small portion of vodka within a generic spray bottle and move forward with spraying down all smelly areas of the foam. Again, proceed to hang the foam outside and put back into use once the alcohol has quickly evaporated away.
 This incredibly simple solution can take days, but work well in eliminating foam odors without the use of any chemicals. Find a location within the yard where the foam is sure to receive a minimum of eight hour of direct sunlight to place the foam. The natural forces of the open space, fresh air and direct UV rays will help to eliminate all odors found within the foam. Place the foam outside for a second or third day if any odor remains after the first day.
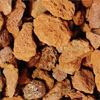 Although baking soda is highly effective, many claim that lava rock works even better as an odor absorbent from the interior of a wooden drawer. To apply, place a handful of lava rock within each smelly drawer. Proceed to allow the lava rock to absorb all unwanted odors over the course of the next 5-7 days. Once completed, simply remove the lava rock and place the freshened drawer back within use.
 Similar to lava rock, activated charcoal briquettes can work well at absorbing difficult odors from wood drawers. Depending upon the size of the drawer, place one or two activated charcoal briquettes within the drawer and subsequently shut it. Allow a minimum of seven days for the activated charcoal to eliminate and absorb all foul stenches within the drawer. Afterwards, the charcoal can be removed and the drawers can be placed back within use.
 As a final absorbent solution, coffee beans can offer an effective solution for removing odors and adding a subtle aroma of fresh morning grounds. For application, simply measure a half cup of coffee beans per drawer, making sure that the drawer is shuffled to properly distribute them along the drawers bottom. Allow the coffee beans to sit for 3-4 days before removing them from the freshen drawer and placing the wooden enclosed space back within use.
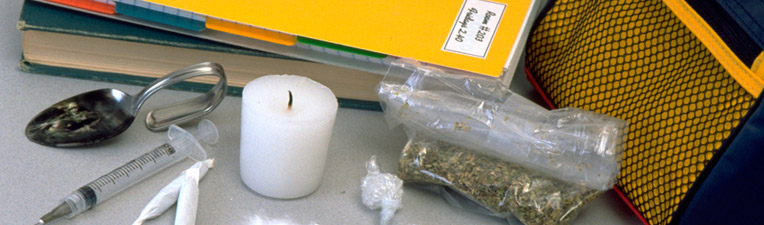
 As a preliminary step, you will want to work to deodorize the backpack to eliminate any musty weed odors. You can accomplish this by adding an deodorizing boost to your normal detergent washing machine cycle of the backpack. Once you have checked to see if your backpack is machine washable, you will want to place the machine settings accordingly, and proceed to add in a additional cup of white vinegar within the cycle. Once completed, hang the backpack outside to air dry rather than opting for the drying machine. This will help to avoid unwanted shrinkage and will help to lift away any additional odors.
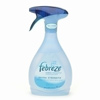 As another fast solution, the use of a store bought deodorizing product can work well at covering up the odor within the short term. Whether it is Glade or Febreze, will need to give the backpack a thorough spray down and place it within the sun to quickly evaporate. In many circumstances, this will be sufficient to properly cover the scent of weed.
 As a preventative solution, you may want to consider always having a trash bag within your backpack. Any time that you anticipate being around weed, simply place the backpack within the enclosed trash bag. This will ensure that no weedy residues will make their way within the canvas material.
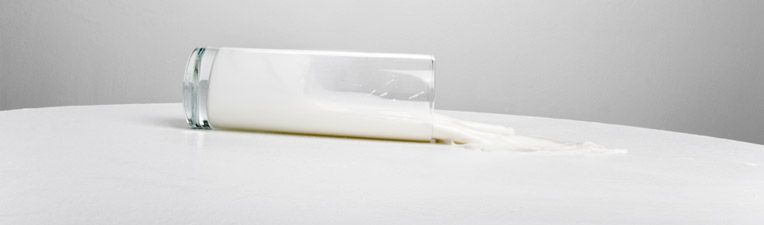
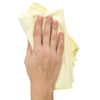 Once a milk spill has occurred, it is extremely important to blot dry all of the substance from the affected area within the car. Using a clean hand towel, press against the upholstery, padding or carpeting until all available moisture has been extracted from the surface.
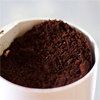 As another absorbent measure, coffee ground trays can work to pulling difficult automobile odors. Spread a cup of coffee grounds across two different cookie trays. Next, place the trays under the two front seats and allow them to remain the for 1-2 weeks. During this time, the grounds will work to absorb the residual milk odors and replace them with the subtle aroma of coffee beans.
 Airing the car out in the sun can have a powerful deodorizing effect. Find a safe place to park your car within direct sunlight for 6-8 hours with all of the car’s windows rolled down. If any smell remains after the an entire day within the sun, try placing your car out for a second or third day until it has become entirely freshened.

 As a preliminary step, you will want to blot as much of the smelly milk out of the carpeting as possible. While preforming this action, you will want to place you entire body weight behind the press increase your effectiveness in extracting the sour smelling moisture. Once dried, you will need to pour additional water on this location to soak the affected spot and dilute the remaining milk residues. Finish this step by pressing drying this location again to extract the watery milk mixture from the carpeting.
 As a secondary step, shampooing the carpeting can be performed to properly lift any remaining sour milk debris from the carpeting fiber. Apply a few teaspoon of shampoo to the affected carpeting and pour water on the location to properly moisten the spot. Begin rubbing the location and allow the suds to properly lift any unwanted residues. Finish by blot drying the location, pouring water and then blot drying until no shampoo evidence remains. Often, performing these two steps are all that are required to wipe out minor sour milk odors.
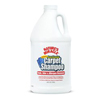 Although white vinegar will likely be sufficient, the aroma of white vinegar can be avoided by using odorous enzyme cleaner to literally eat through the odorous milk residues within the carpeting. Pour your enzyme carpet cleaner over the affected location until the carpeting and affected padding is sufficiently moist. Once the affected carpeting location has been soaked, allow the enzyme cleaner to soak within the spot for 24-48 hours. After this time has passed, finish by blot drying the carpeting to lift any remaining enzyme cleaner from the carpet padding.

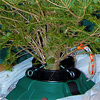 Stagnant water within the Christmas tree stand is usually the source of the odor. It can take as little as 5-7 days for a smell to develop within this water, so it is especially important that it gets poured out and replaced on a weekly basis. Though the stench may smell of cat urine, this similar sharp aroma is normally the cause.
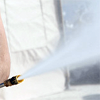 Often, the smell of cat urine is the direct result of cat or other tree dwelling animal’s urine. In such cases, the Christmas tree can be taken outside and given a heavy spray with the garden hose to wash the ammonia-based odor away. Once complete, place the erect tree within a location of the yard where it will receive a minimum of 8 hours of direct sunlight. Once the Christmas tree has completely dried off, it can be taken back within the home and placed within the stand.
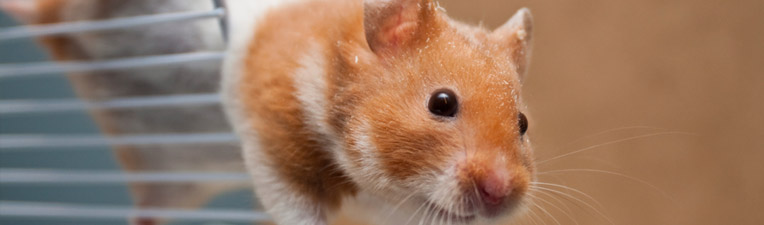
 You will want to change the the wood chip bedding every 5-7 days. Build up of hamster waste and urine and water bottle related mildew can quickly lead to an unwanted hamster funk. Failure to change the wood chip bedding is often the most frequent cause of smells developing and can cause the entire room to smell.
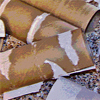 If smells still remain after performing the above steps, you can proceed to throw out all of the temporary toys that have become soiled within the cage. Often, these toys con within the form of old paper towel rolls and scraps of cardboard. These types of material are difficult to deodorize and are best thrown out.
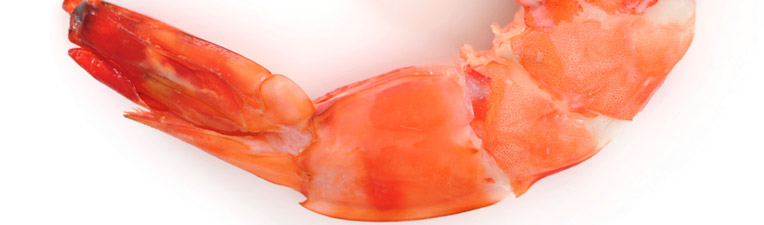
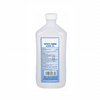 This solution works fantastically at cutting through rotten residues and sterilizing surfaces. Moisten the a rag with rubbing alcohol and give the area where the shrimp had be resting a thorough wipe down. Afterwards, provide 10-15 minutes for the any alcohol residues to evaporate away.
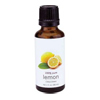 This natural oil can work well in cutting through the stink of a rotten prawn through the chemical effects of citric acid. Moisten a hand towel with lemon oil and proceed to wipe down the affected area within the drawer. Leave drawer open for the lemon oil to aerate. Upon completion, the stench of prawn should be wiped out to be replaced by the welcoming scent of citrus fruit.