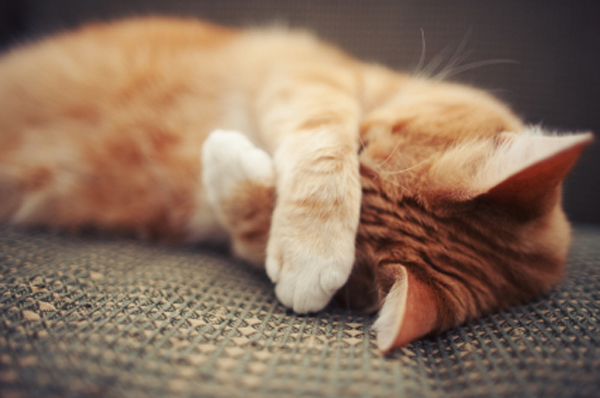
A major challenge with cats is their ability to get into several nooks and crannys around the house. Due to their natural acrobatic abilities, they are often found high and low, on a number of different furniture sets. Despite such obvious skills in mobility, our feline friends can surprisingly fail to make their way to the litter box and make a urine deposit upon our furniture.

When disaster strikes, there remain several solutions to cleaning up the mess and removing the kitty urine based odor. By following the suggestions below, you will be able to increase your odds of solving your cat urine furniture problem.
Cat Urine Removal from Furniture
1 Remove Affected Cushions
 If you have caught your kitten within the act on one of the cushions from your couch or sofa, gentility remove the cushion to place it outside as soon as possible. Cat urine has a way of making it’s way within the cracks of the couch and underlying furniture frames if it has enough time to soak in. By immediately removing the cushion, you will be preventing this from happening and diverting a larger problem.
2 Use a Black Light
 If the smell of cat urine is within a piece of your furniture, it is likely that it has taken a direct hit. In such cases, you can use a blacklight to search out the spot. Close the blinds within the room, and run a black light over the affected piece of furniture. Immediately, you should be able to see a subtile grow emanating from that areas where your cat has urinated on the furniture.
3 Press Dry Kitty Fluids
 On the areas that remain moistened from your cat’s urine spray it is important to press dry the spot to withdraw as much liquid as possible. Using a clean and dry hand towel, press down on these locations until all of the urine fluids have been lifted from the affected locations of the furniture.
4 Dilute with Water
 Once much of the urine has been lifted from the location, you can proceed to pour small amounts of water onto the affected portions of the furniture to dilute the remaining residues within. After pouring water onto the upholstery and underlying furniture padding, you can proceed to blot dry the location to pull out additional urine resides from the cushioning. For best results, pour water and blot dry a second time to lift additional urine fluids out of the furniture.
5 Use an Enzyme Cleaner
 Once much of the urine and ammonia based residues have been lifted from the furniture, using enzyme cleaner will help to eat through the existing residues and deodorizing the urine odor. Pour enzyme cleaning solution over the affected areas and allow for the solution to set for 24-48 hours while it literally eats through the organic urine residues within the upholstery and underlying padding. Once 1-2 days have passed, you can return to blot dry the enzyme cleaning solution from the furniture before placing back within use.
Alternative Cat Urine Deodorizing Tips
1 Deodorize with White Vinegar
 When enzyme cleaner is not accessible, white vinegar can make a wonderful household substitute in combating cat urine odors. The mild acid within white vinegar directly neutralizes the ammonia within urine and leaves it odorless once dry. Mix a solution of one part white vinegar with five parts warm water and pour over the affected areas of the furniture. Allow the solution to work it’s magic for 24-48 hours before returning to blot dry the remaining white vinegar from the upholstery and cushioning. As a note of precaution, the white vinegar will posses a have a mild odor until it have completely evaporated from the piece of furniture.
2 Use Solar Power
 Placing the furniture within the sun will do more than allowing the white vinegar or enzyme cleaning solution evaporate faster. The ultraviolet rays, open space and fresh air will all work to further lift any remaining cat urine odors. If the pice of furniture is small and light weight enough to move outdoors within direct sunlight for 1-2 days, it can have a last effect on erasing the effects of your feline friend urinary misfirings.
3 Sprinkle Baking Soda Within Cushion Liner
 Baking soda is a household ingredient that is know for it’s odor absorbing capabilities. As an additional step, sprinkling baking soda within the cushion liners of the furniture can help to keep any remaining odors within the padditing at bay. Measure 1/4 cup of baking soda and disperse it throughout the cushion to make sure that it cover the entire interior.
Preventative Cat Urine Solutions
1 Place Secondary Litter Box
 Cats are creatures of comfort and often will opt to relieve their bladders in places that are close and comfortable. If the cat litter box is located on the other end of the house, you may wish to consider placing another litter box on the other corner of the household. Doing will ensure that you cat is always within close proximity to the litter box and will have no excuse not to use it. As an additional precaution, avoid placing that the box within a location that can accidentally be blocked off by a door or obstruction. If cats cannot get to their litter box, you can be sure that they will relieve themselves elsewhere.
2 Reward Your Cat
 Rewards always work better than punishments. If your cat successfully uses his litter box, be sure to provide rewards from time to time to increase it’s positive association with the act. This is especially important after the cat has misfired on you furniture as this will incentives this practice and will ensure that your cat does not get within the habit of peeing anywhere that he pleases within the house. If this problem persists, it may make sense to take you cat to the local feline veterinarian for a checkup.
[contact]
 It is important that you remember to change bedding for you pet on schedule. Failure to change bedding on the advised basis of you pet can quickly lead to an odor developing within the cage. Once this odor develops, the cage can become increasingly challenging to clean and cause the nearby rooms to begin to smell. In short, be sure to know how often you should change you pet cage and follow it religiously.
 It is important to select an area within your home that it not connected to your main living space. It is ideal if this location received some natural light and has close proximity to window that can be opened to provide fresh circulation. Mud rooms exist within many homes, and provide the perfect space for the placement of your pet’s cage.
 When all else fails, you can plug in an air freshener within the same room as the pet’s cage. This will help to cover and mask any pet related odors that may develop between bedding changes and cage cleanings. As an added benefit, the room in which you run this freshener will have a pleasant and stimulation scent of your choosing.
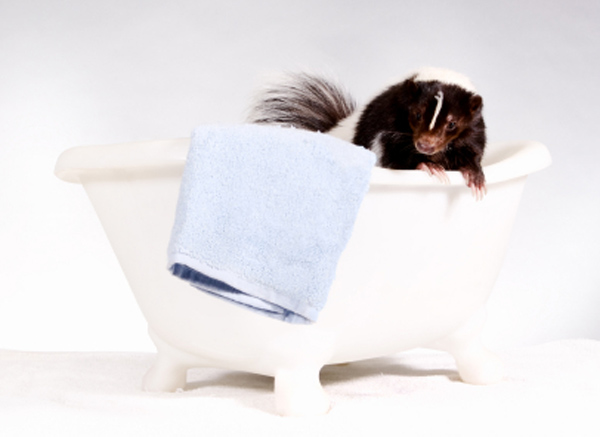
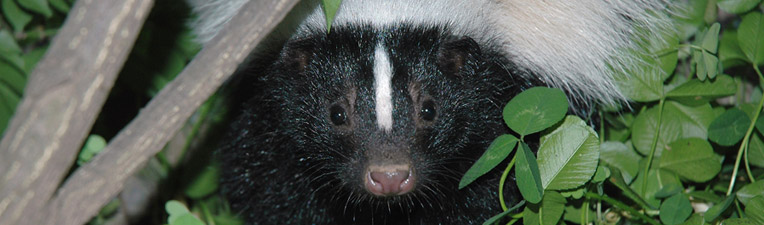
 At all costs, attempt to clean and deodorize your dog outside. Many people make the mistake of allowing their dog access within their home immediately after being sprayed. Dogs will instinctively run about the home rubbing against the walls, furniture and flooring. During this process, the skunk spray oils are gradually spread on household possessions creating a challenging interior environment to deodorize. If you smell the spray before your dog enter the home via the doggy door, your first step will be to seal the doggy door to keep you puppy outside.
 Immediately after the spray make sure that all door s and windows within closed proximity to the spray are closed. Though the smell will undoubtedly still make it’s way within the home, this will help to keep the majority of the spray from entering the home. If you are going out to wash and deodorize your dog, be sure to to exist your home from a door that is not located by the area of the house where the dog was sprayed.
 When the above methods have failed to remove the lingering smell of skunk within the household, using an ozone machine within your household is a sure-fire way to remove the difficult odor. Ozone machine can cost up to 500 dollars to rent, but they often are the last line of defense in eliminating skunk odors within households. They work by removing all of the oxygen from the enclosed space to eliminate odors where they sit. As a note of precaution, they can be very dangerous if improperly used, and it is important after use to return oxygen the home by opening all doors and windows for a minimum of an hour before going back within the home.
 In minor cases, deodorizing product sprays such as Febreze can do a good job at masking and eliminating difficult skunk odors. You may find that an extra spray on linens, curtains, upholstery and clothing will help to freshen them enough to avoid the need to launder the fabrics. Additionally, deodorizing sprays like Febreze can come in handy for spraying down living spaces and freshening rugs and carpeting. For more advice related to removing skunk spray from clothing,
  After skunk odors have found their way within your home, you may find that several kitchen ingredients have acquired the pervasive musk. When this happens, you need to understand that all porous containers are a lost cause and must be disposed of. No amount of activated charcoal or baking soda will enough to absorb and remove the skunky smell from their siding. Once these items have been removed, place several charcoal briquettes throughout the cupboards in strategic locations where they will do the most good. After placing 20-30 throughout your food-lined shelves, allow the briquettes 1-2 weeks to absorb remaining skunk odors.
 This handy device can be used in cases where the air conditioner within the household has been affected by the skunk spray. Once skunk spray gets within an air conditioner, it can work to perpetually spread the odor throughout the house for days and weeks following the incident. Placing an ozone bulb within the air conditioner can work to sterilize and freshen the air passing through it. Although the bulbs can cost upwards of 400 dollars, it remains an effective solution for rescuing your air conditioner and returning fresh air within your household.
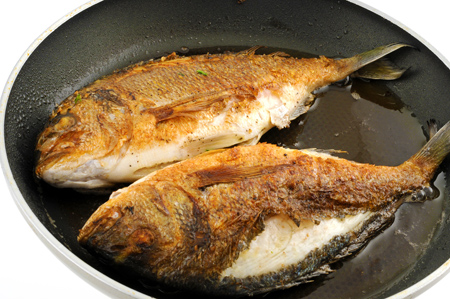

 Taking this step prior to cooking fish will save you much headache later on. Be sure to open all of the windows within the kitchen as well as the windows within any rooms that connect directly with your cooking space that do not have a sealable door. As another rule of thumb, leave the windows open 10-15 minutes after you are finished cooking.
 Running the stovetop fan does much to suck out the most odorous scent of cooked fish from the kitchen and send it directly outside. The fan is located directly over the oven and stove, and works to catch the fish scent as it naturally climbs upwards prior to spreading throughout the home. As a preventative step, always begin the fan prior to beginning to cook your fish.
 Keeping the kitchen door closed is essential to making sure that the smell of fish does not make it’s way thought the home. As a guiding principle, close the door prior to cooking and keep the door to the kitchen shut a total of 10 minutes after the cooking has completed. To take this step one further, a towels can be used to seal up the space under the kitchen door where the stench of fish may slip though if otherwise not in place.
 Cooking fish within the oven creates less of a characteristic fishy smell than cooking fish on the stove top. Be sure to still run the stovetop top fan as this will work to further minimize the odors that are coming out from the oven.
 Use of cheap cooking oils like vegetable oil can add to the odor problem. Many on them have a characteristic smell that can intensify the fishy stench within your home. Whenever you are frying fish on top of the stove top, always make an effort to cook with olive oil.
 Bleach works in a similar fashion to strip the walls of organic fish related build-up. Mix a solution of one part bleach with ten parts hot water, and proceed to scrub down the walls, ceiling and cabinets of the kitchen with a disposable rag. The windows can be open to speed the drying and minimize the chemical odor of the bleach within the kitchen.
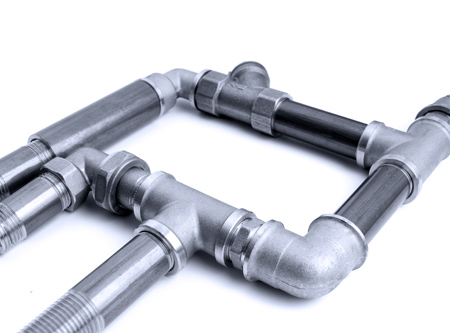

 Running hot water within your pipes prior to applying a deodorizing solution will work to expand the interior of the pipe and loosen much of the debris. This works well in combination with some of the below solutions by delivering an added boost to an existing chemical reaction.
 Often chemical cleaners can only do so much in neutralizing built up organics and bacterial within pipes. Often what is needed is a device to hook onto hair and larger debris that would otherwise stay fixed within their location. Though these product do not combat the bacteria they do their part at removing obstructions within the pipe where odorous bacteria live.
 The citrus acid within lemon juice can work well at eating through bacteria within pipes. To develop this deodorizing solution, mix one cup of lemon juice within a half gallon of hot water. Run hot water for 10 minutes prior to application before turning the faucet off, and pouring the solution down the pipe. Allow for a 3 hour break from running the faucet before running hot water for another 15 minutes.
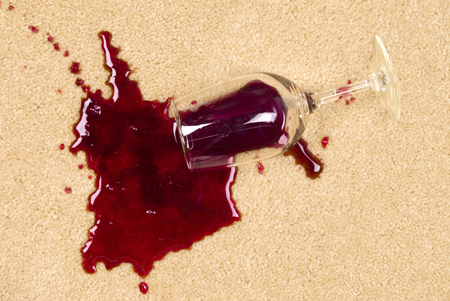

 This solution works for more than your sanitizing your kittens droppings. Sprinkle a heavy amount of unused cat litter over the location of the accident. Provide 2-3 days for the solution the absorb any remaining odors before returning to vacuum the pet product from the carpeting. Be sure to vacuum thoroughly as the product can get deep down within the carpeting fiber.
 If you have not had luck with the above methods, you may consider renting a carpet cleaner to treat the wine-related odor. Carpet cleaners work well at getting deep-down within the carpeting and underlying padding to clean and deodorize spills. Also, many carpet cleaning rental locations offer enzyme cleaning solution that works within the device. This is an effective way of giving the machine an extra boost over the traditional shampoo.
 While it may sound crazy to treat a wine odor with vodka, this party drink has been used for generations within eastern europe for its deodorizing properties. The alcohol within vodka cuts through difficult odors and leaves the affected areas smelling fresh. Mix vodka and hot water within equal parts and pour within a spray bottle. Proceed to spray down the affected area of the spill and provide 3-4 hours for the solution to settle in before returning to blot dry the location.
 Coffee grounds can be used to absorb odors from a variety of spills. Place a paper towel over the affect area of the carpeting and pour a hefty amount of coffee grounds of the the location. Provide 2-3 days for the coffee grounds to slowly absorb the odor and replace it with the subtle aroma of morning brew. Please note: This solution is meant to treat the odor and not the spill itself. When applying this solution the affected area of the carpeting should be dry. If the area is wet, the is potential for the coffee ground to stain the underlying carpeting.
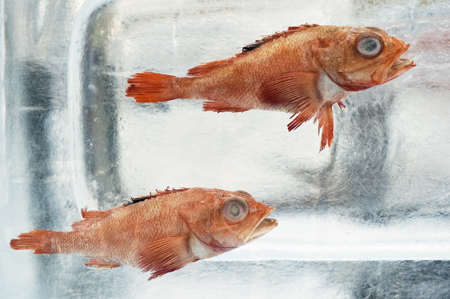

 As your first step, you will want to clean all of the contaminants from the freezer with a mixture of hot water and dish soap. Before you begin, you will want to unplug the freezer to liquify any ice remnants which may be harboring the odor. Next, mix two teaspoons of dish detergent with three cups of warm water and proceed dunk a dish rag within the mixture and wipe down the entire interior of the freezer. Make sure that no fish contaminants are left within the freezer before moving on.
 Once the contaminants have been cleared out, you can work in absorbing any of the remaining smells out of the freezer. Stuffing the freezer with crumpled newspaper dipped within vanilla extract is a popular way to remove the odor. Fill a small saucer with vanilla extract and lightly dip the edges of crumpled newspaper into the solution, and place within the freezer. Once the freezer has been filled, close the door and allow 2-3 days for the paper to absorb the unwanted fish odor and replace it with subtle aroma of vanilla extract.
 The act of boiling apple cider vinegar and placing it within a freezer may sound strange. However, this household acid works well at combating fish odors within enclosed spaces. Fill a pot with one part apple cider vinegar and three parts water and bring it to a boil. Once the pot has reached a boiling point, pour the steaming contents within an large heat resistant bowl and quickly place within the freezer, making certain to close the door. After 4-6 hours return to remove the bowl and wipe down the vinegar stream from the walls of the freezer.
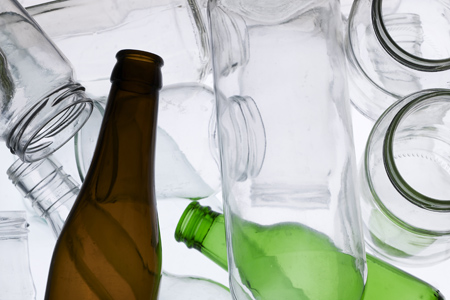
 This may sound too simplistic to be true, however running the glass jars and bottle through the dish washer is often enough to strip them of unwelcome odors. For the maximum impact on the odor, run the glass containers through the dish washer on the machine’s hotest setting. Often, dishwashers are helpful for delivering the high level of heat needed to expand the glass and sweep the smell away.
 This is a subtle but effective way to remove food related odors from your glass container. The citric acid found within lemons help to eat through odors and leave a fresh scent of lemons. Fill the bottle with one part lemon juice and ten parts water, and allow the mixture to sit for 4-5 days. After this time has passed, pour the contents out and put the bottle into use.


 If cooking with curry is a regular occurrence, it may be wise to create a homemade deodorizer to spray after eating your meal. Create a solution of white vinegar and water in equal part and pour within a spray bottle. After dinner has complete spray down the counter, walls and ceiling of the kitchen. This will help in cutting through the oily residues and maintain a fresh smell within the room. As a note of precaution, the kitchen may stink of vinegar shortly after spraying it down, so it may make since to leave windows open to expedite it’s drying process. Alternatively, you can also buy a enzyme cleaning spray that will have the effects of neutralizing the curry smell without the odor that is produced while vinegar is drying.
 This solution harnesses the power of active enzymes to eat through organic residues left from curry. Spray down heavy amounts of this product on all surface areas of the furniture and provide 24-48 hours for the moisture to completely evaporate off. To speed up the evaporation process you can open the window within the rooms where the treated furniture is located. Enzyme cleaning sprays are available at pet stores and most super markets. Alternatively, a solution of white vinegar and water within a spray bottle can substitute for this spray.
 This product works well in neutralizing odors within fabric. Fill the sink with warm water and add in 1-2 scoop of Oxiclean before soaking all of the affected curtains, furniture covers and mats within the substance. Allow these items to sit for 1-2 hours before removing them to place them through a full detergent wash cycle.
 This laundry detergent is develop especially for wiping out difficult fabric odors. Though it can be difficult to find within stores, it has an impressive record for removing smells and adding freshness within the fabrics. Place the curtains, furniture covers and mats within the washing machine and use Febreze laundry detergent with normal detergent for best results.